
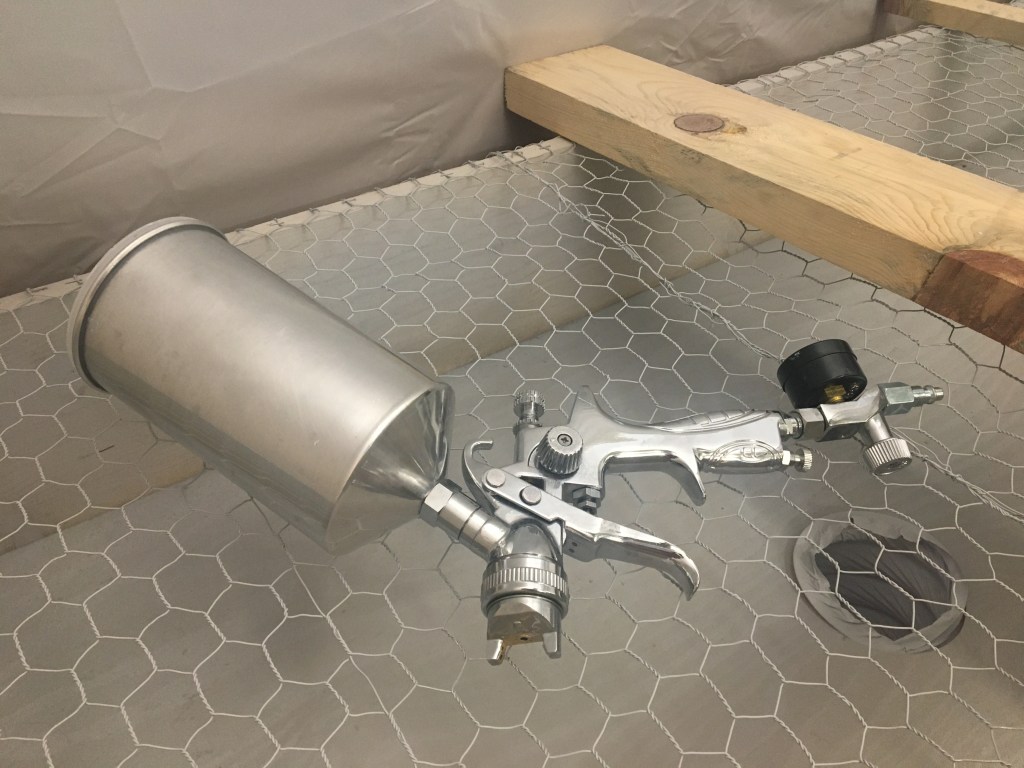
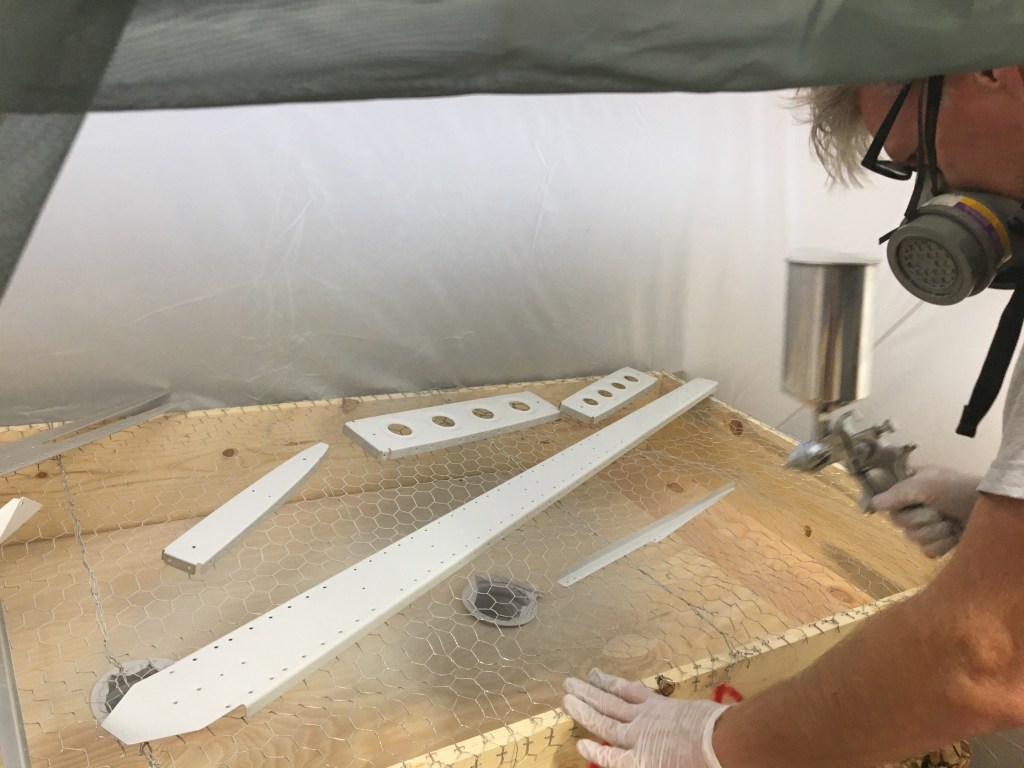
Some of you may know from my personal Facebook page that I awoke one morning to a spray tent popped open in the garage (and also to where the rest of my supply of chicken wire had gone – I have dogs that like to eat small woodland creatures – chicken wire is a household essential if you wish to protect your fences). Troy built himself a fancy little painting tent with some air fans and filters. One thing I am trying to keep track of: things that might come in handy for me and my future projects – spray gun, spray tent – very useful items.

“To prime or not to prime – that is the question”.
– said every experimental aircraft builder
Applying primer is a preventative step against metal corrosion however it’s a highly debatable step among builders. Primer adds weight to the plane, additional build time, the aluminum itself has an anticorrosion coating, which counterintuitively, you actually have to scratch into in order to provide a surface for the primer to stick to. It’s a two-step scrubbing with a strong soap and acid wash process, I can only wish our bathrooms got that level of attention. There are also different types of primer which I don’t have the slightest desire to Google.
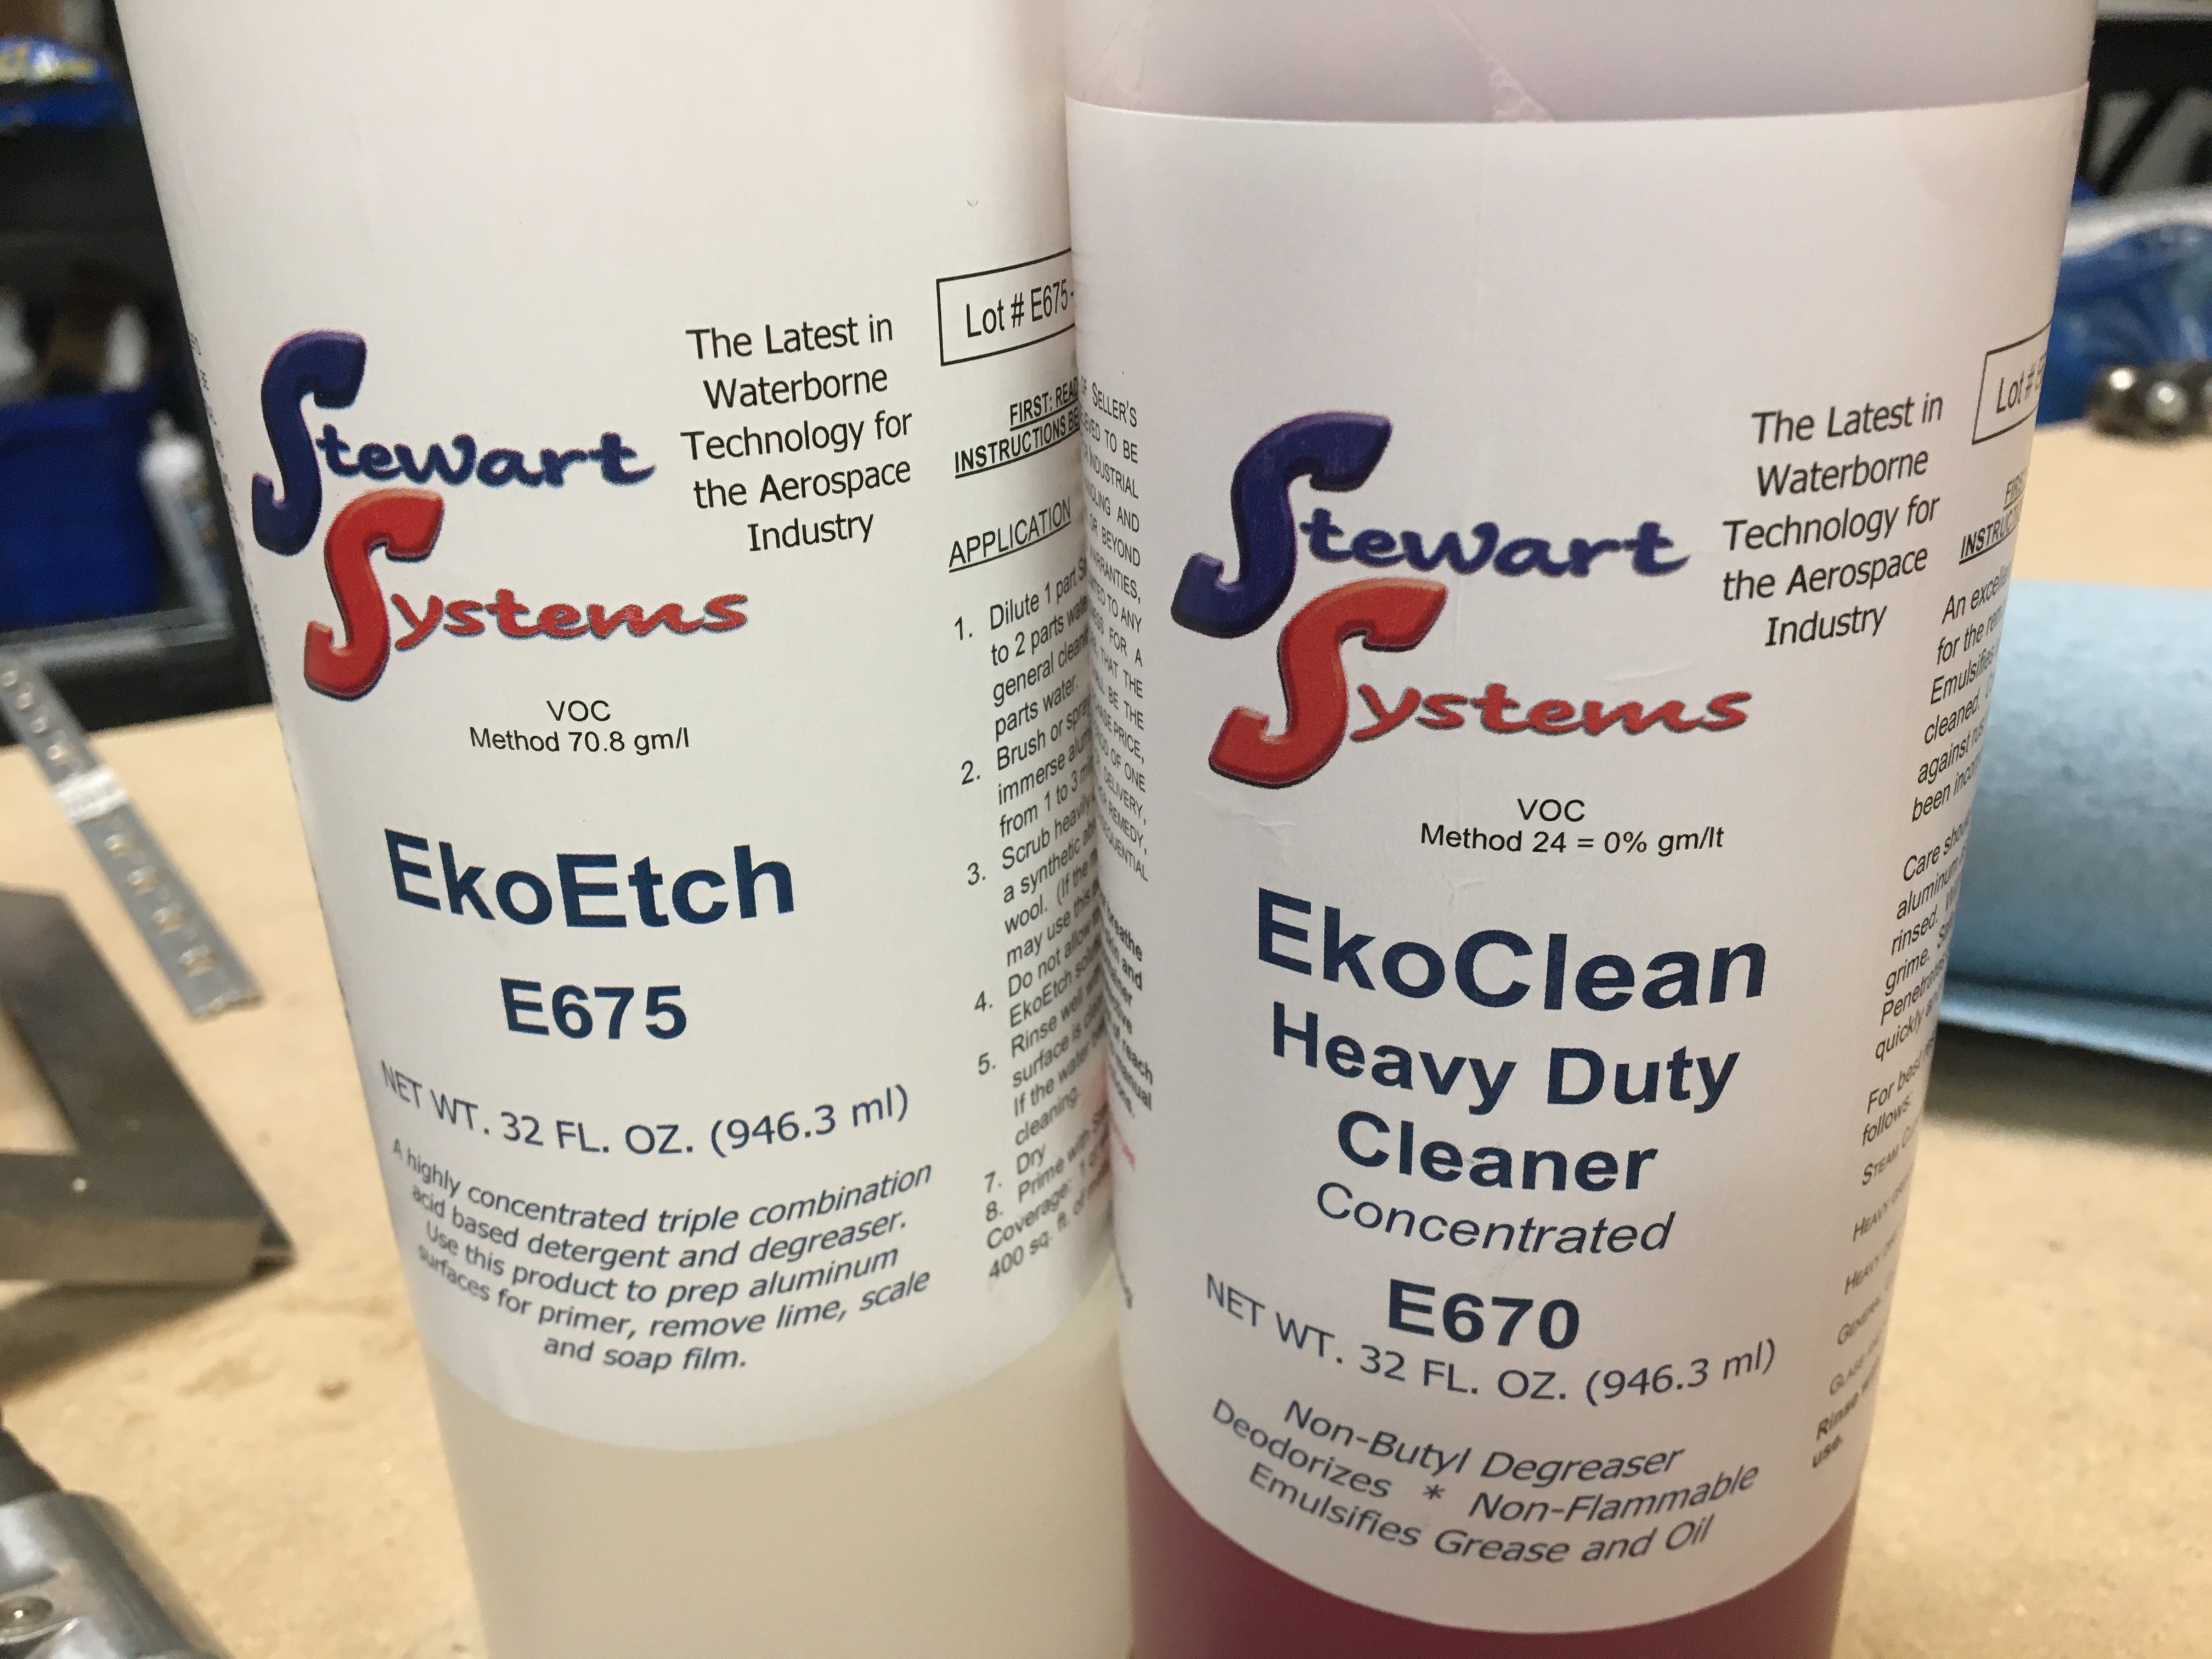

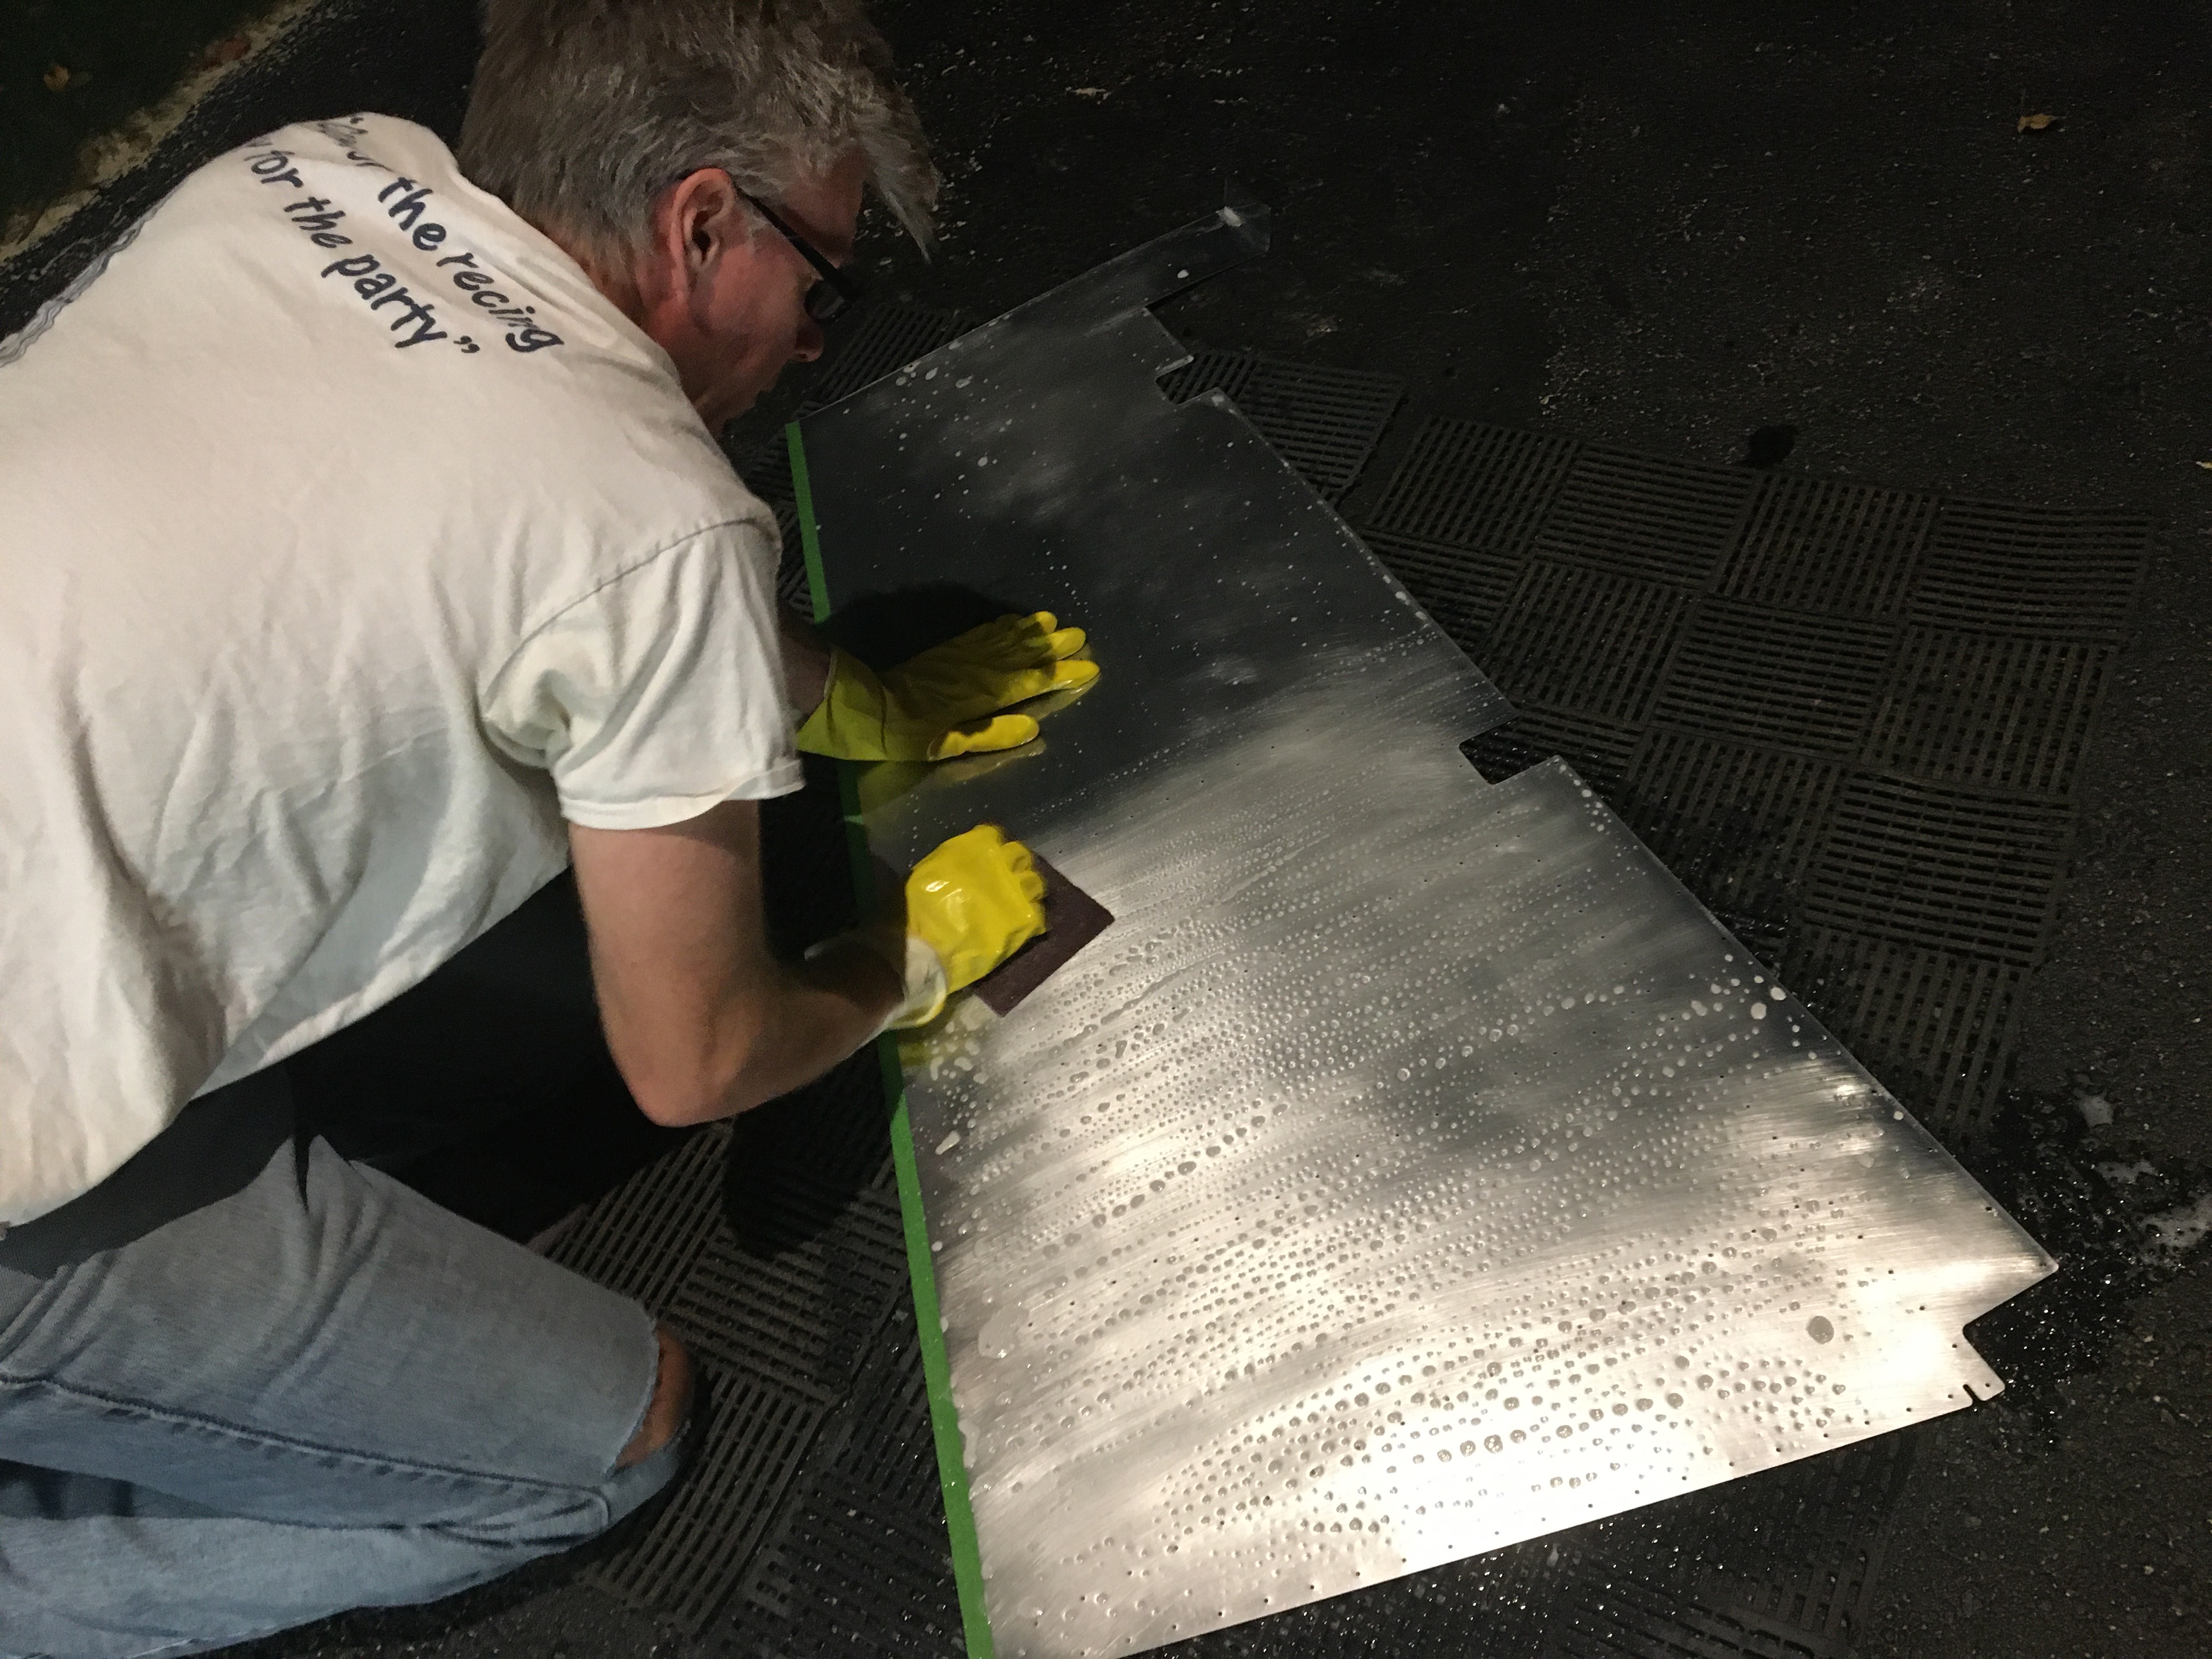
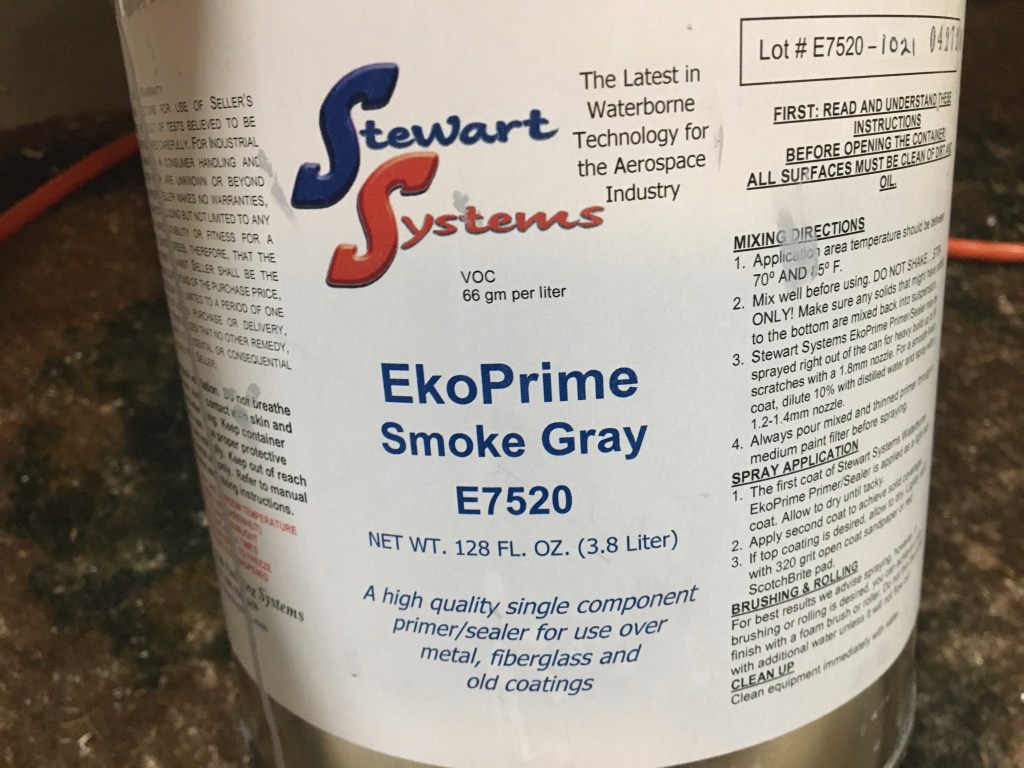
Troy’s decided to prime and use one that is water based – balancing his personal values of trying to protect the plane as much as possible while using an environmentally friendly formula that is easy to work with. The house still smelled like paint despite his best efforts but miraculously, I haven’t seen a drip of primer outside of the spray shelter.

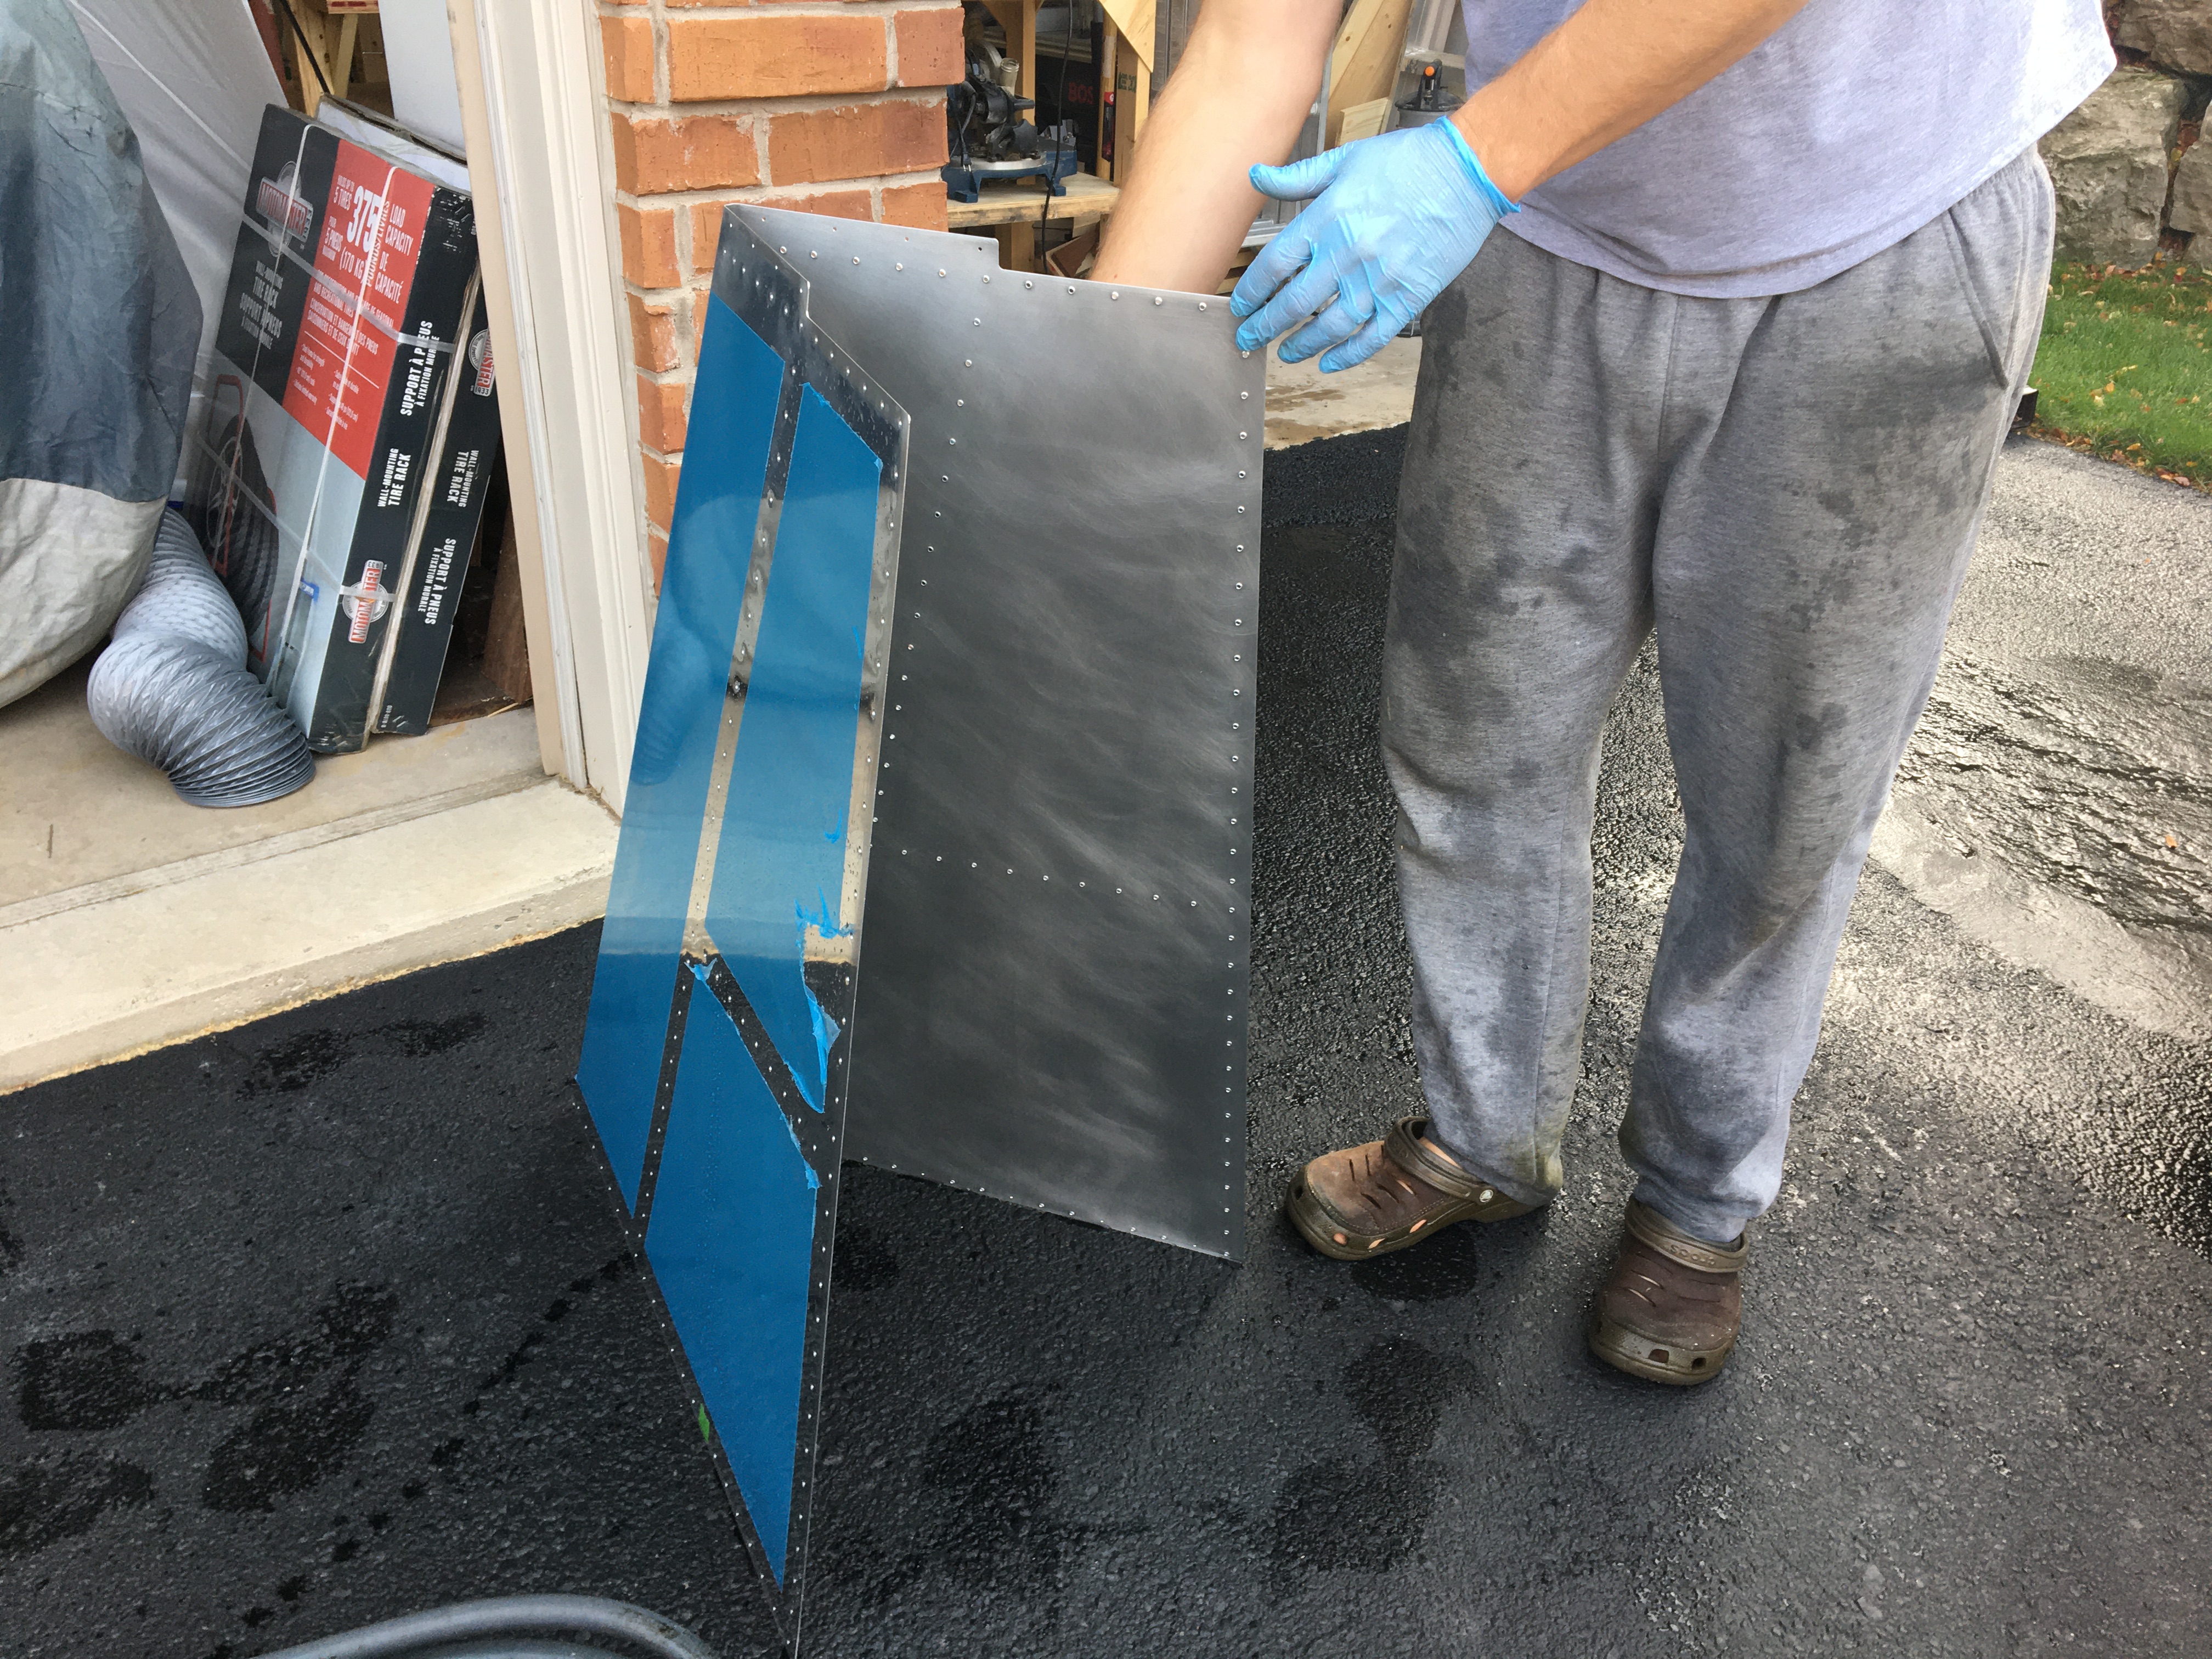
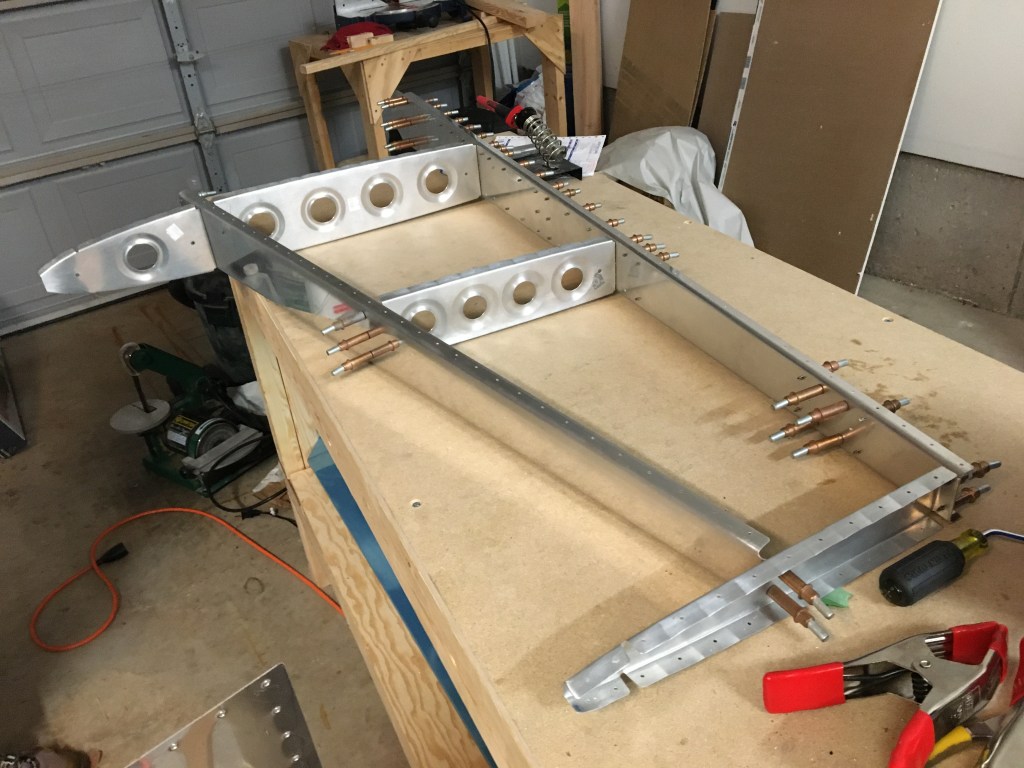
Did you know – there are 230 holes on the ribs and spars of the vertical stabilizer – and only 12 of those holes did not need to be drilled, deburred, dimpled or countersunk? There are 216 holes in the skin of the vertical stabilizer, all of which were also drilled, deburred, and dimpled. Before all of those holes received the royal treatment, all of the parts were actually Cleco-ed together to ensure the holes lined up. Then all the Clecos were removed so that the holes could be shaped, and then subsequently, each individual part sprayed with primer. Placing and removing over 200 Cleco clamps with Cleco pliers, at least twice – results in Cleco cramps. If that’s not a term yet, I’m thusly coining it.
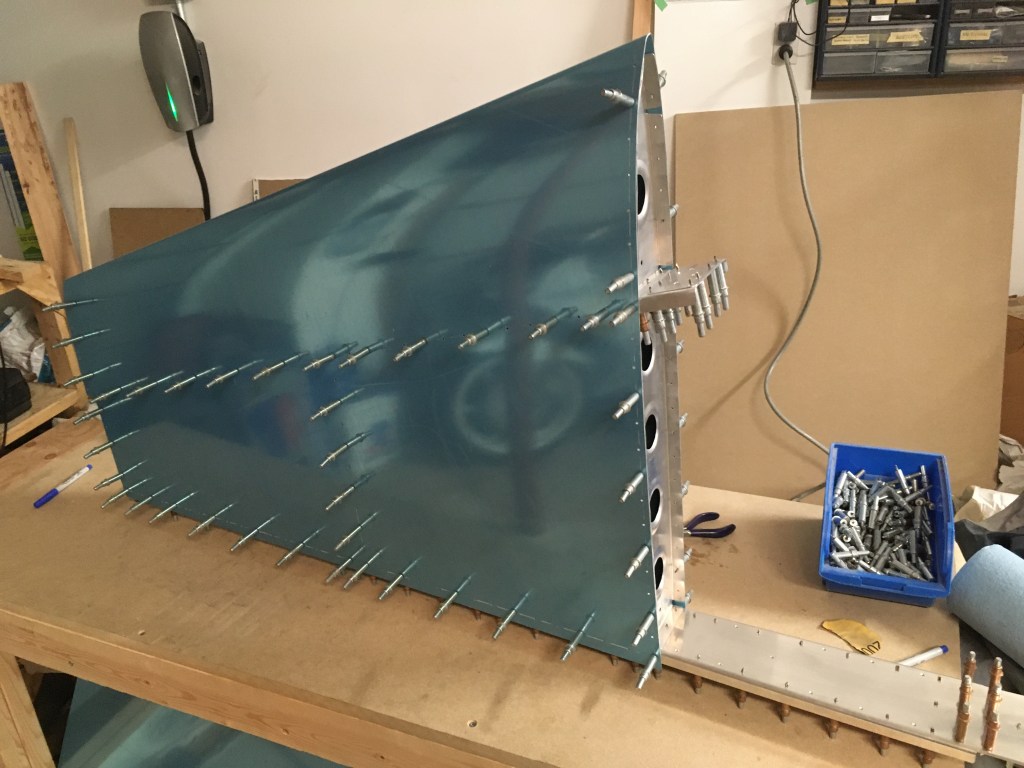
Now, when we may be ready for riveting, and why we don’t have a beer fridge in the garage, this particular blog entry has gotten a little too long. I promise I’m going to spend the next post completely on rivets and address that question that hangs over us…
To be continued…

One thought on “Where’s the beer fridge? Part 2.”