Where’s the beer fridge? Part 3.

A really neat FYI – this is a video produced by Walt Disney in 1942. They were, after all, an animation company!

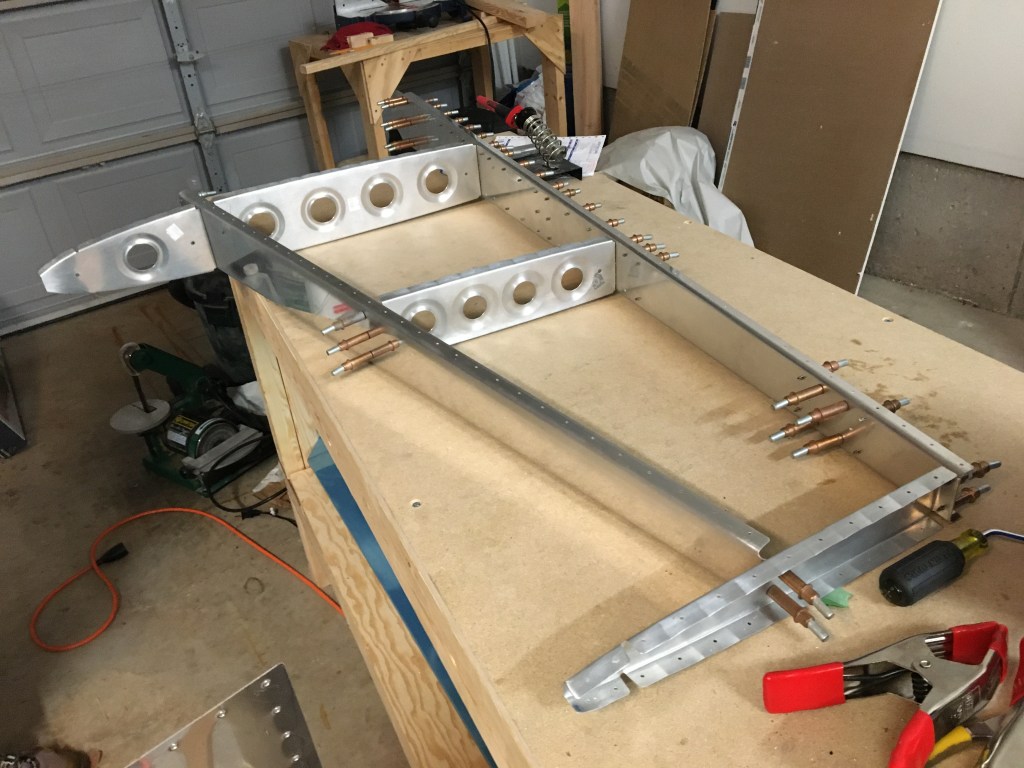
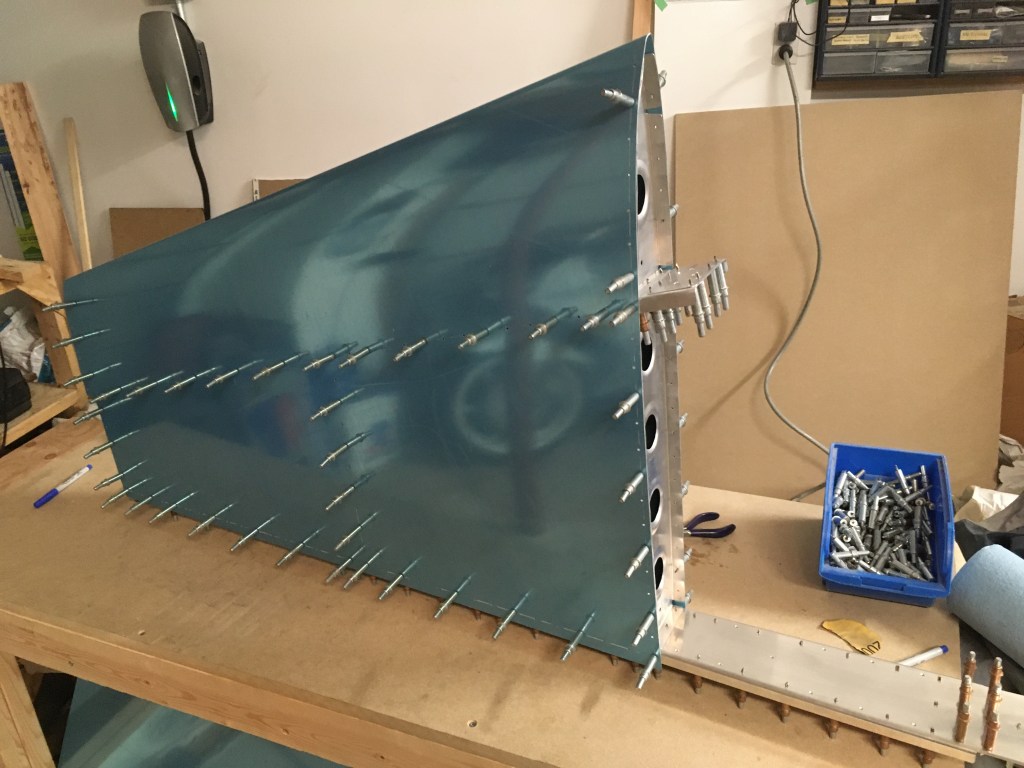
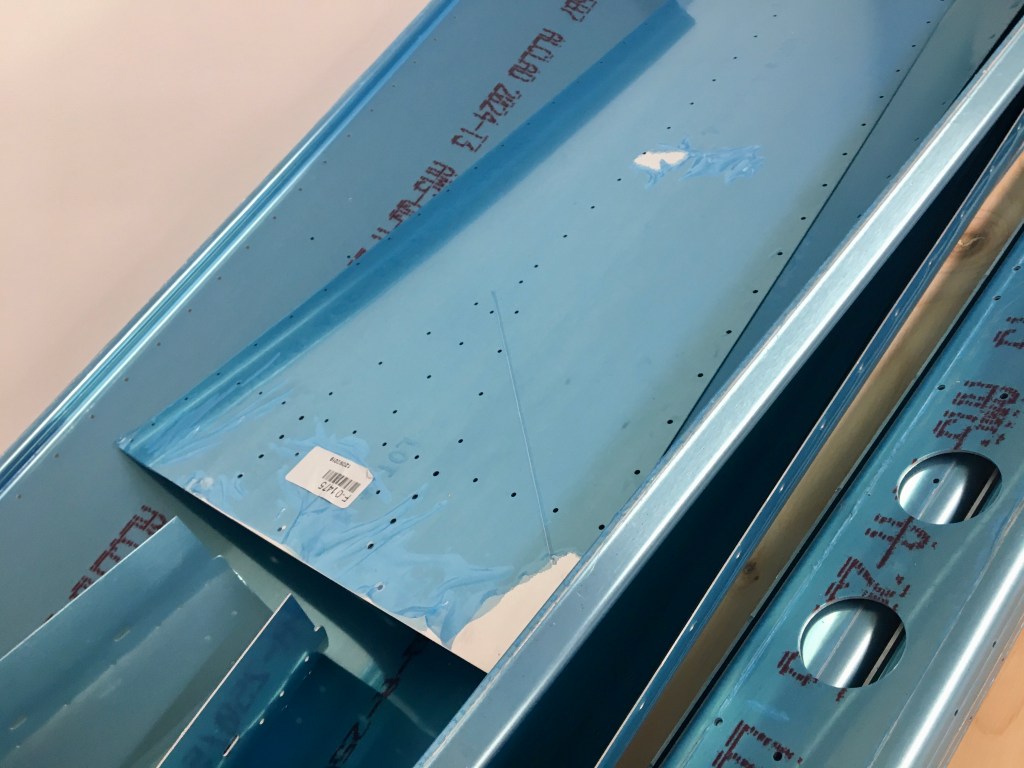
Riveting. Up until this point in my life, I’ve only used this word in the context of something completely grabbing my undivided attention. Rivets can be riveting if permanently connecting two pieces of metal together is your thing. It’s finally time to talk about that step in building an airplane – and funny enough – it is such a small part of the entire build. Connecting pieces of metal is structurally fundamental, but it’s the preparation of the parts leading up to this that determines how structurally sound the airplane will ultimately be. But – I have to say – it is incredibly satisfying to see Troy start to put the pieces together. It’s like reaching a certain toll gate in the process.

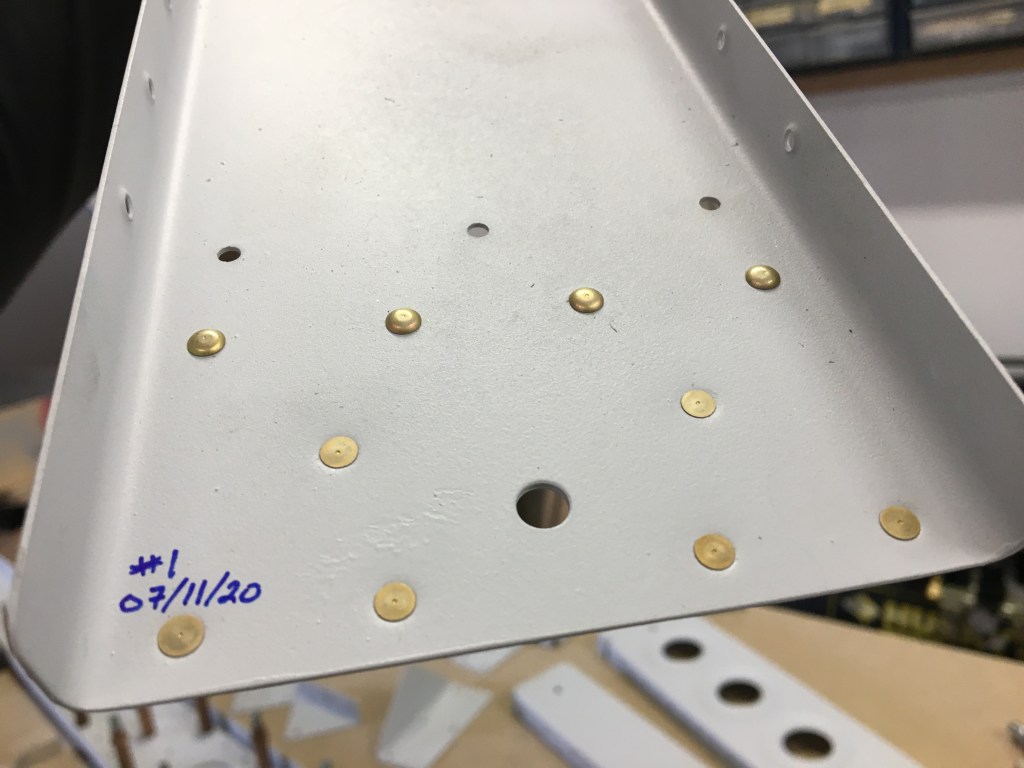
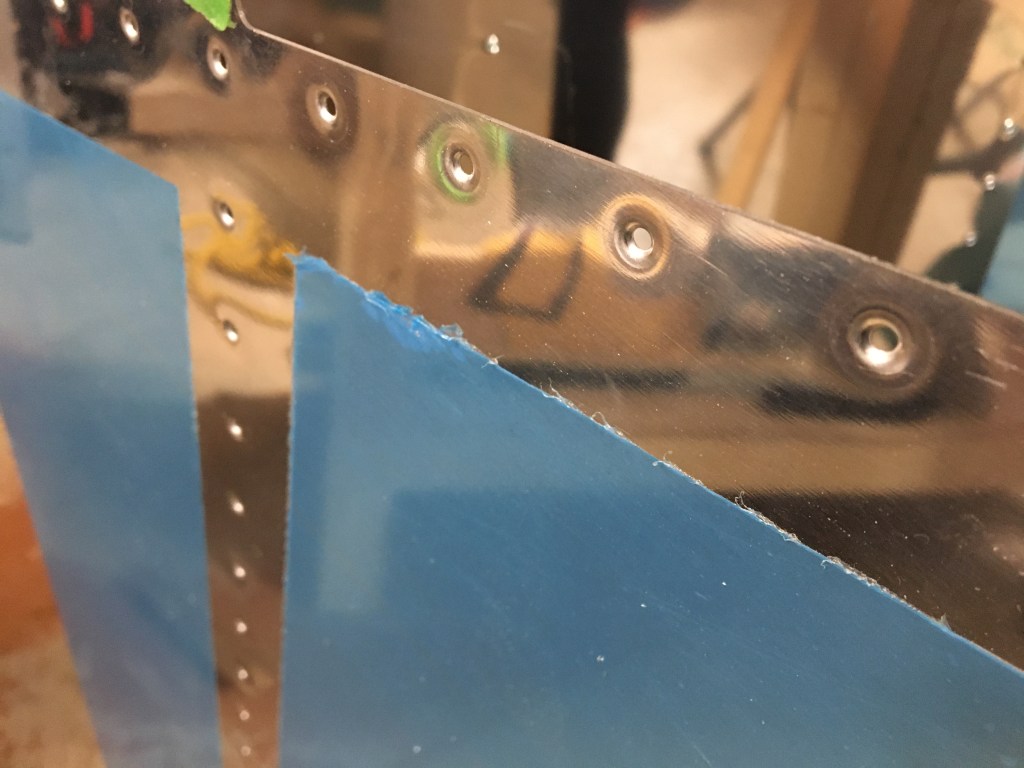
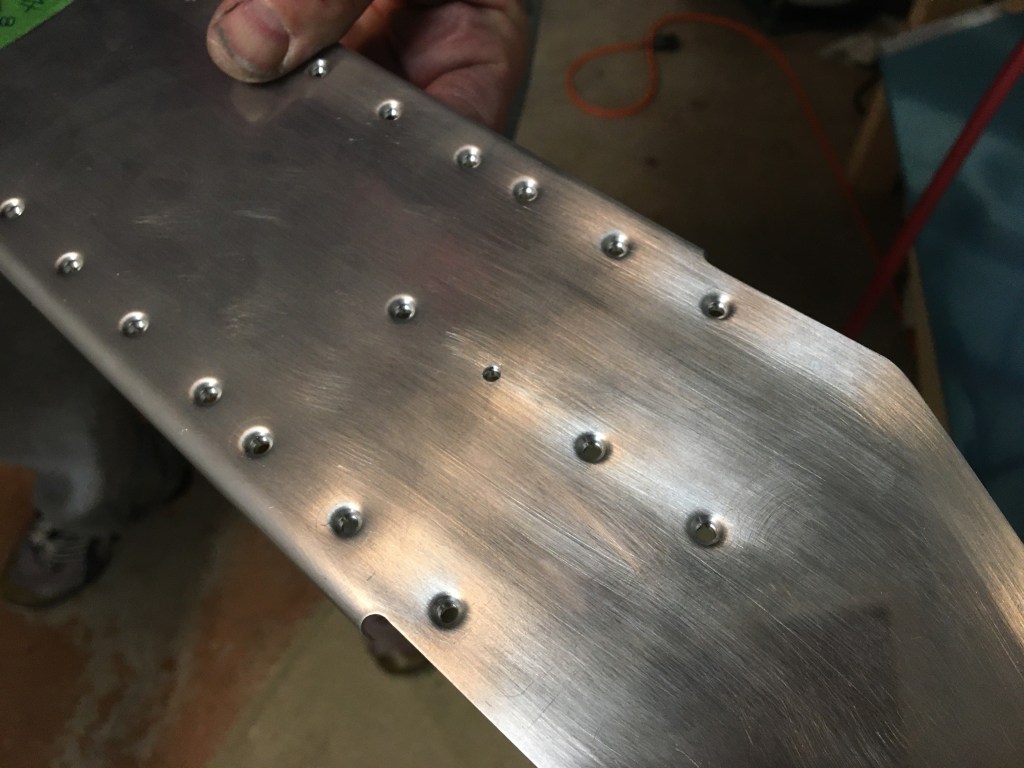
There are a number of different types of rivets, but I think I’ve been introduced to the main ones that Troy will be using for the empennage. There are countersunk (flush / flat head) rivets, universal (domed head) rivets, and then versions of the two in the blind rivet format. Which one you use will depend on if air flows over that particular surface (recall Part 1’s description of countersinking and dimpling) and, in the case of the blind rivet, if you can access the locations where you need to set the rivet.  

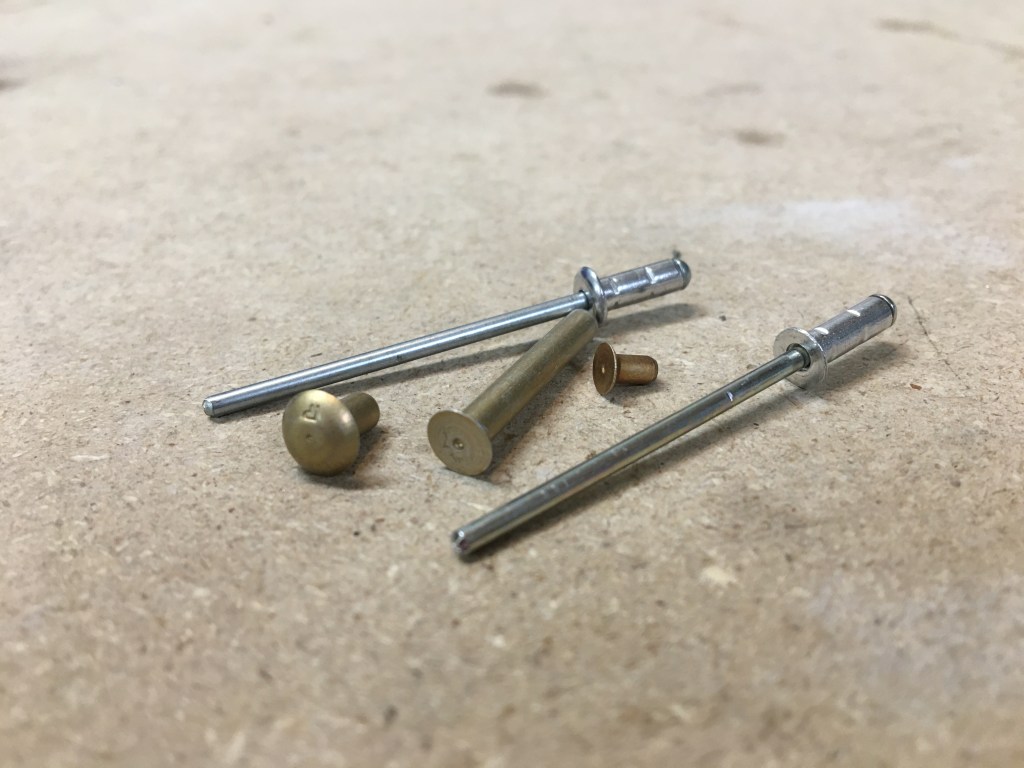
The blind rivet reminds me of pulling the waist string on a pair of pandemic pants (my name for sweat pants). As you pull that string, the fabric bunches up – that’s pretty much how a blind rivet works. When you can’t pound on both sides of a rivet, a blind rivet comes in handy. A blind rivet gun pulls at the long pin, mushrooming the other end and ultimately snapping the excess pin off to set the rivet.  

Troy had already set a few blind rivets in his airplane (of course at a time when I was not around) so I made him show me how these blind rivets worked on a scrap piece of metal.

Given the option, builders will typically choose to use a pneumatic squeezer to install a rivet because of the ease of use and a consistency in pressure – you can set an end point so that you do not over pound a rivet.

Using a pneumatic squeezer to set a rivet – in slow motion.

However, there are times, when you cannot get a squeezer into the space you need to place a rivet and that’s where a riveting gun is used.  The riveting gun reminds me of a little jack hammer. This involves a bucking bar or a riveting bar made out of tungsten or steel to give a counterforce to the riveting gun. You have to be mindful of how many times you hit the rivet in order to attempt uniformity with all of the sets.

Riveting using a riveting gun and a bucking bar.
Back riveting – there is a rivet bar underneath and the riveting gun is pounding away on the back side of the rivet.

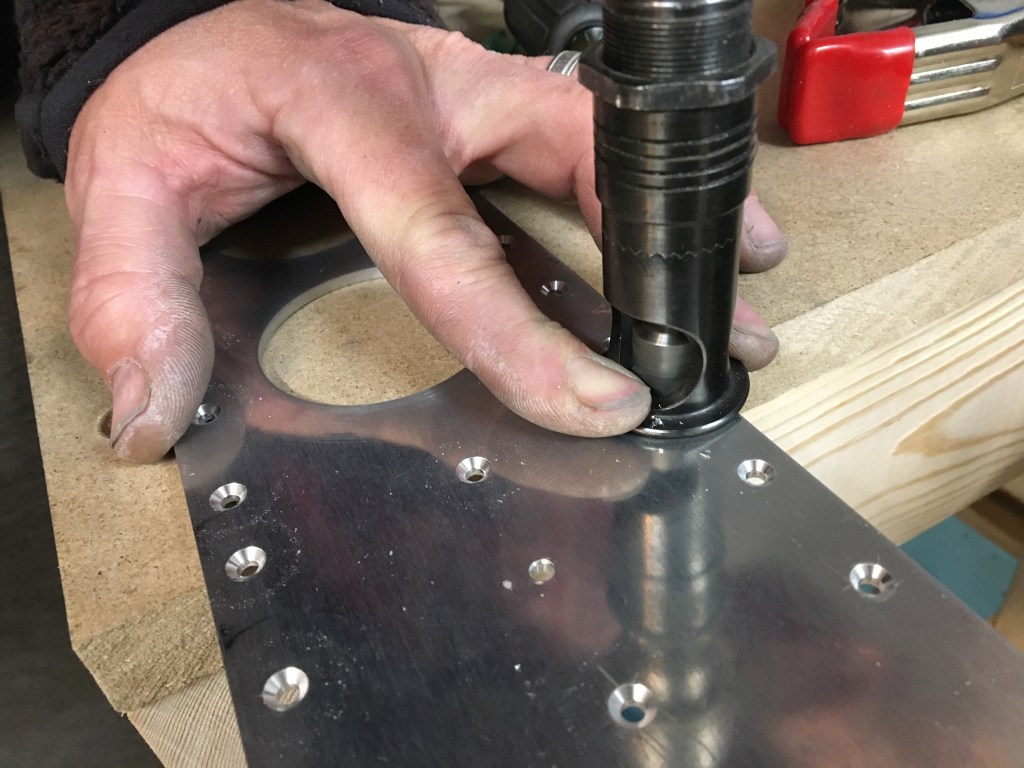
There will also be areas where you just can’t position the riveting gun and so various attachments know as rivet sets can be used. It looks awkward and really is quite awkward to use, so the hope is that there aren’t too many of these in the build.  

Using a double rivet set to place a rivet into a tough access spot.

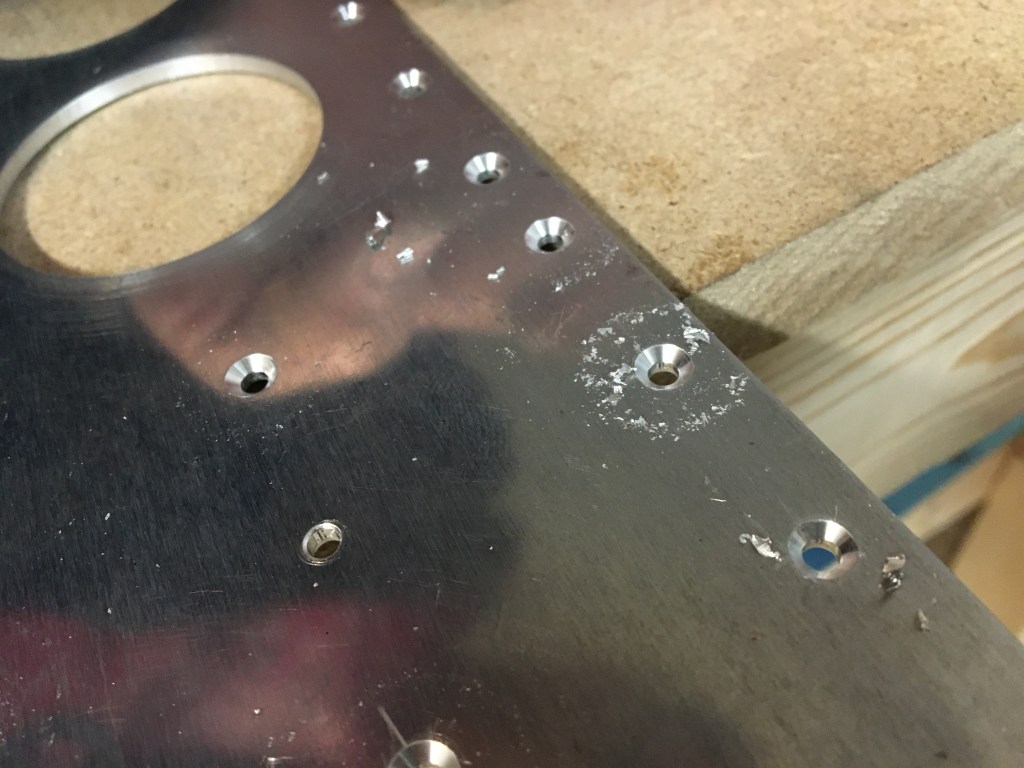
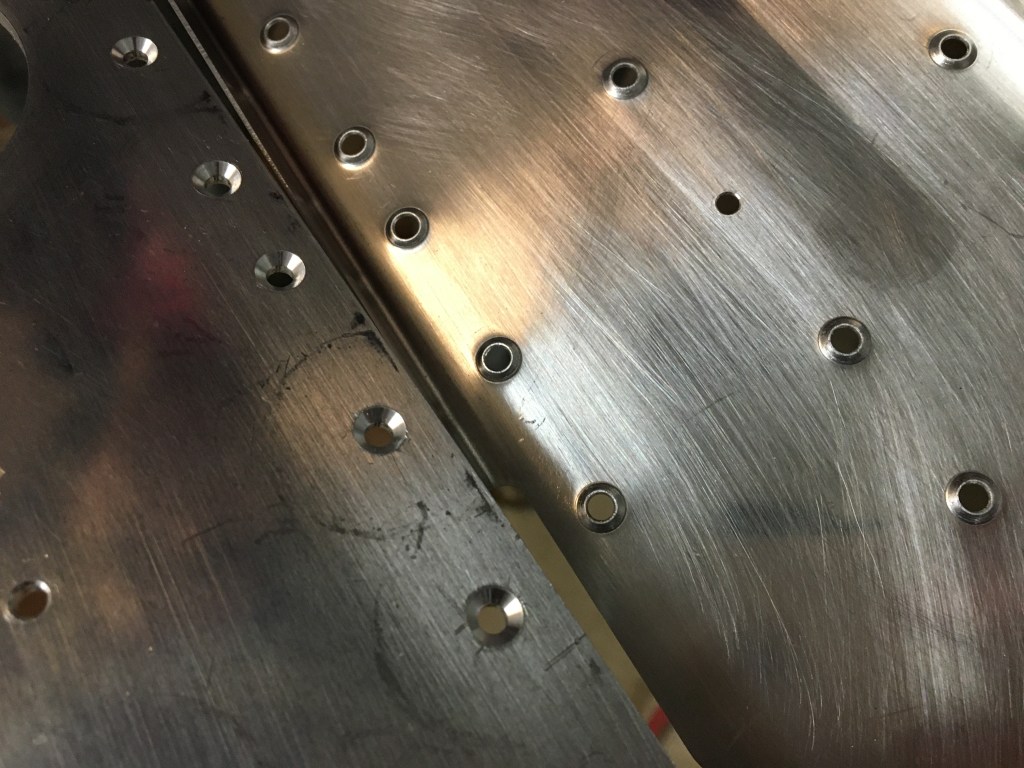
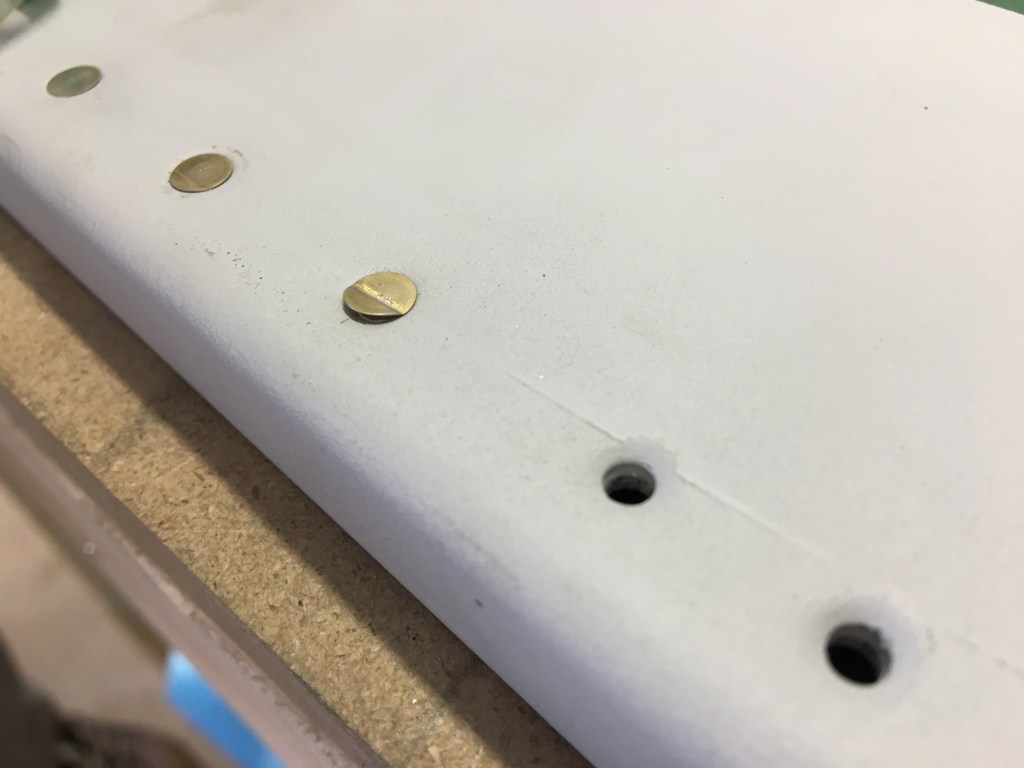
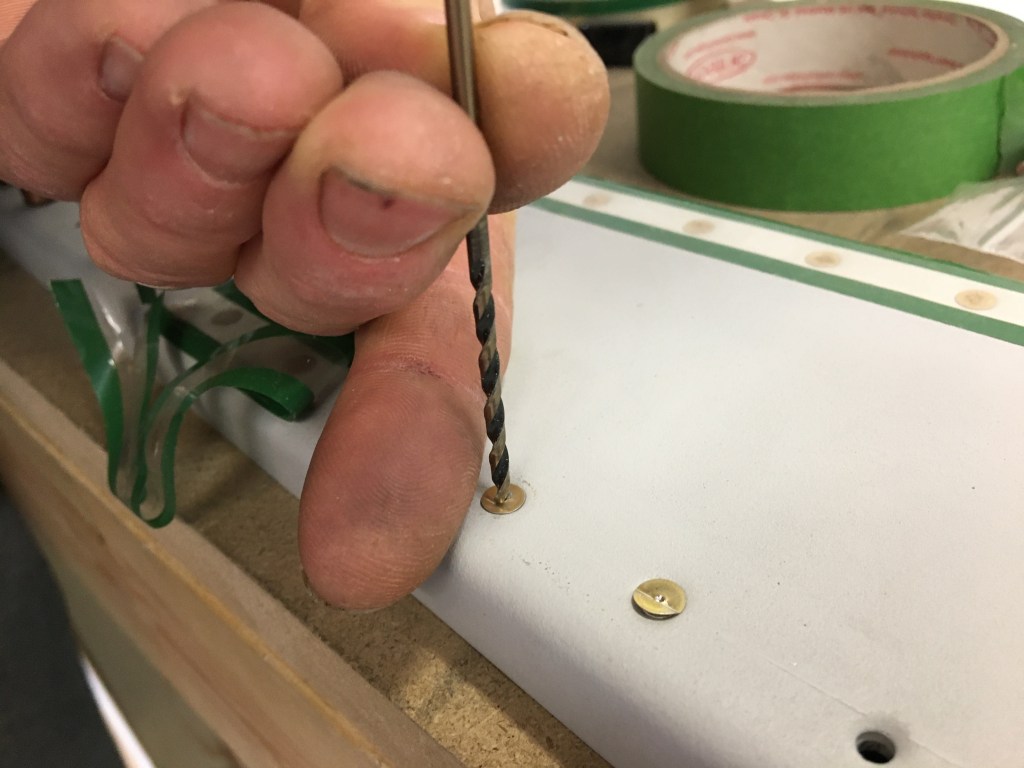
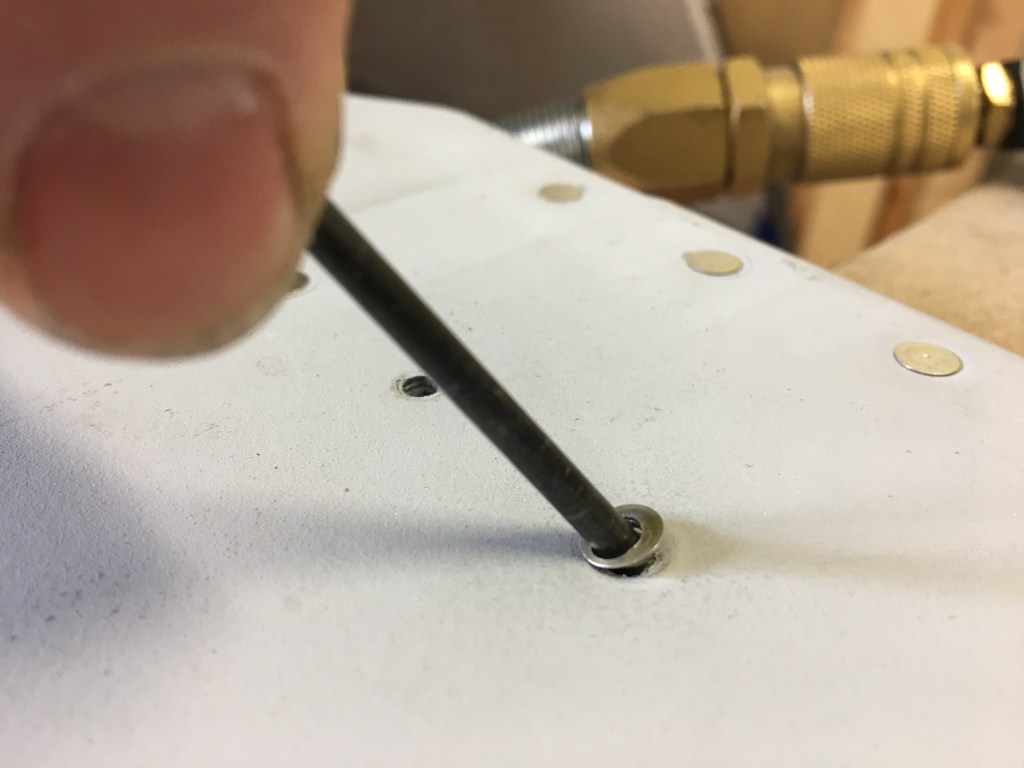
What happens when you screw up a rivet? It happens, and already has happened. We learned the hard way that you need to keep an eye on where the riveting bar is at all times. Another hope is that you do not need to do this often, but you would drill out the top of the rivet and then once that part is removed, drill out the remaining metal in order to push the rejected rivet out.

And now to finally answer the question: Why don’t we have a beer fridge in the airplane workshop? There are actually a number of reasons:

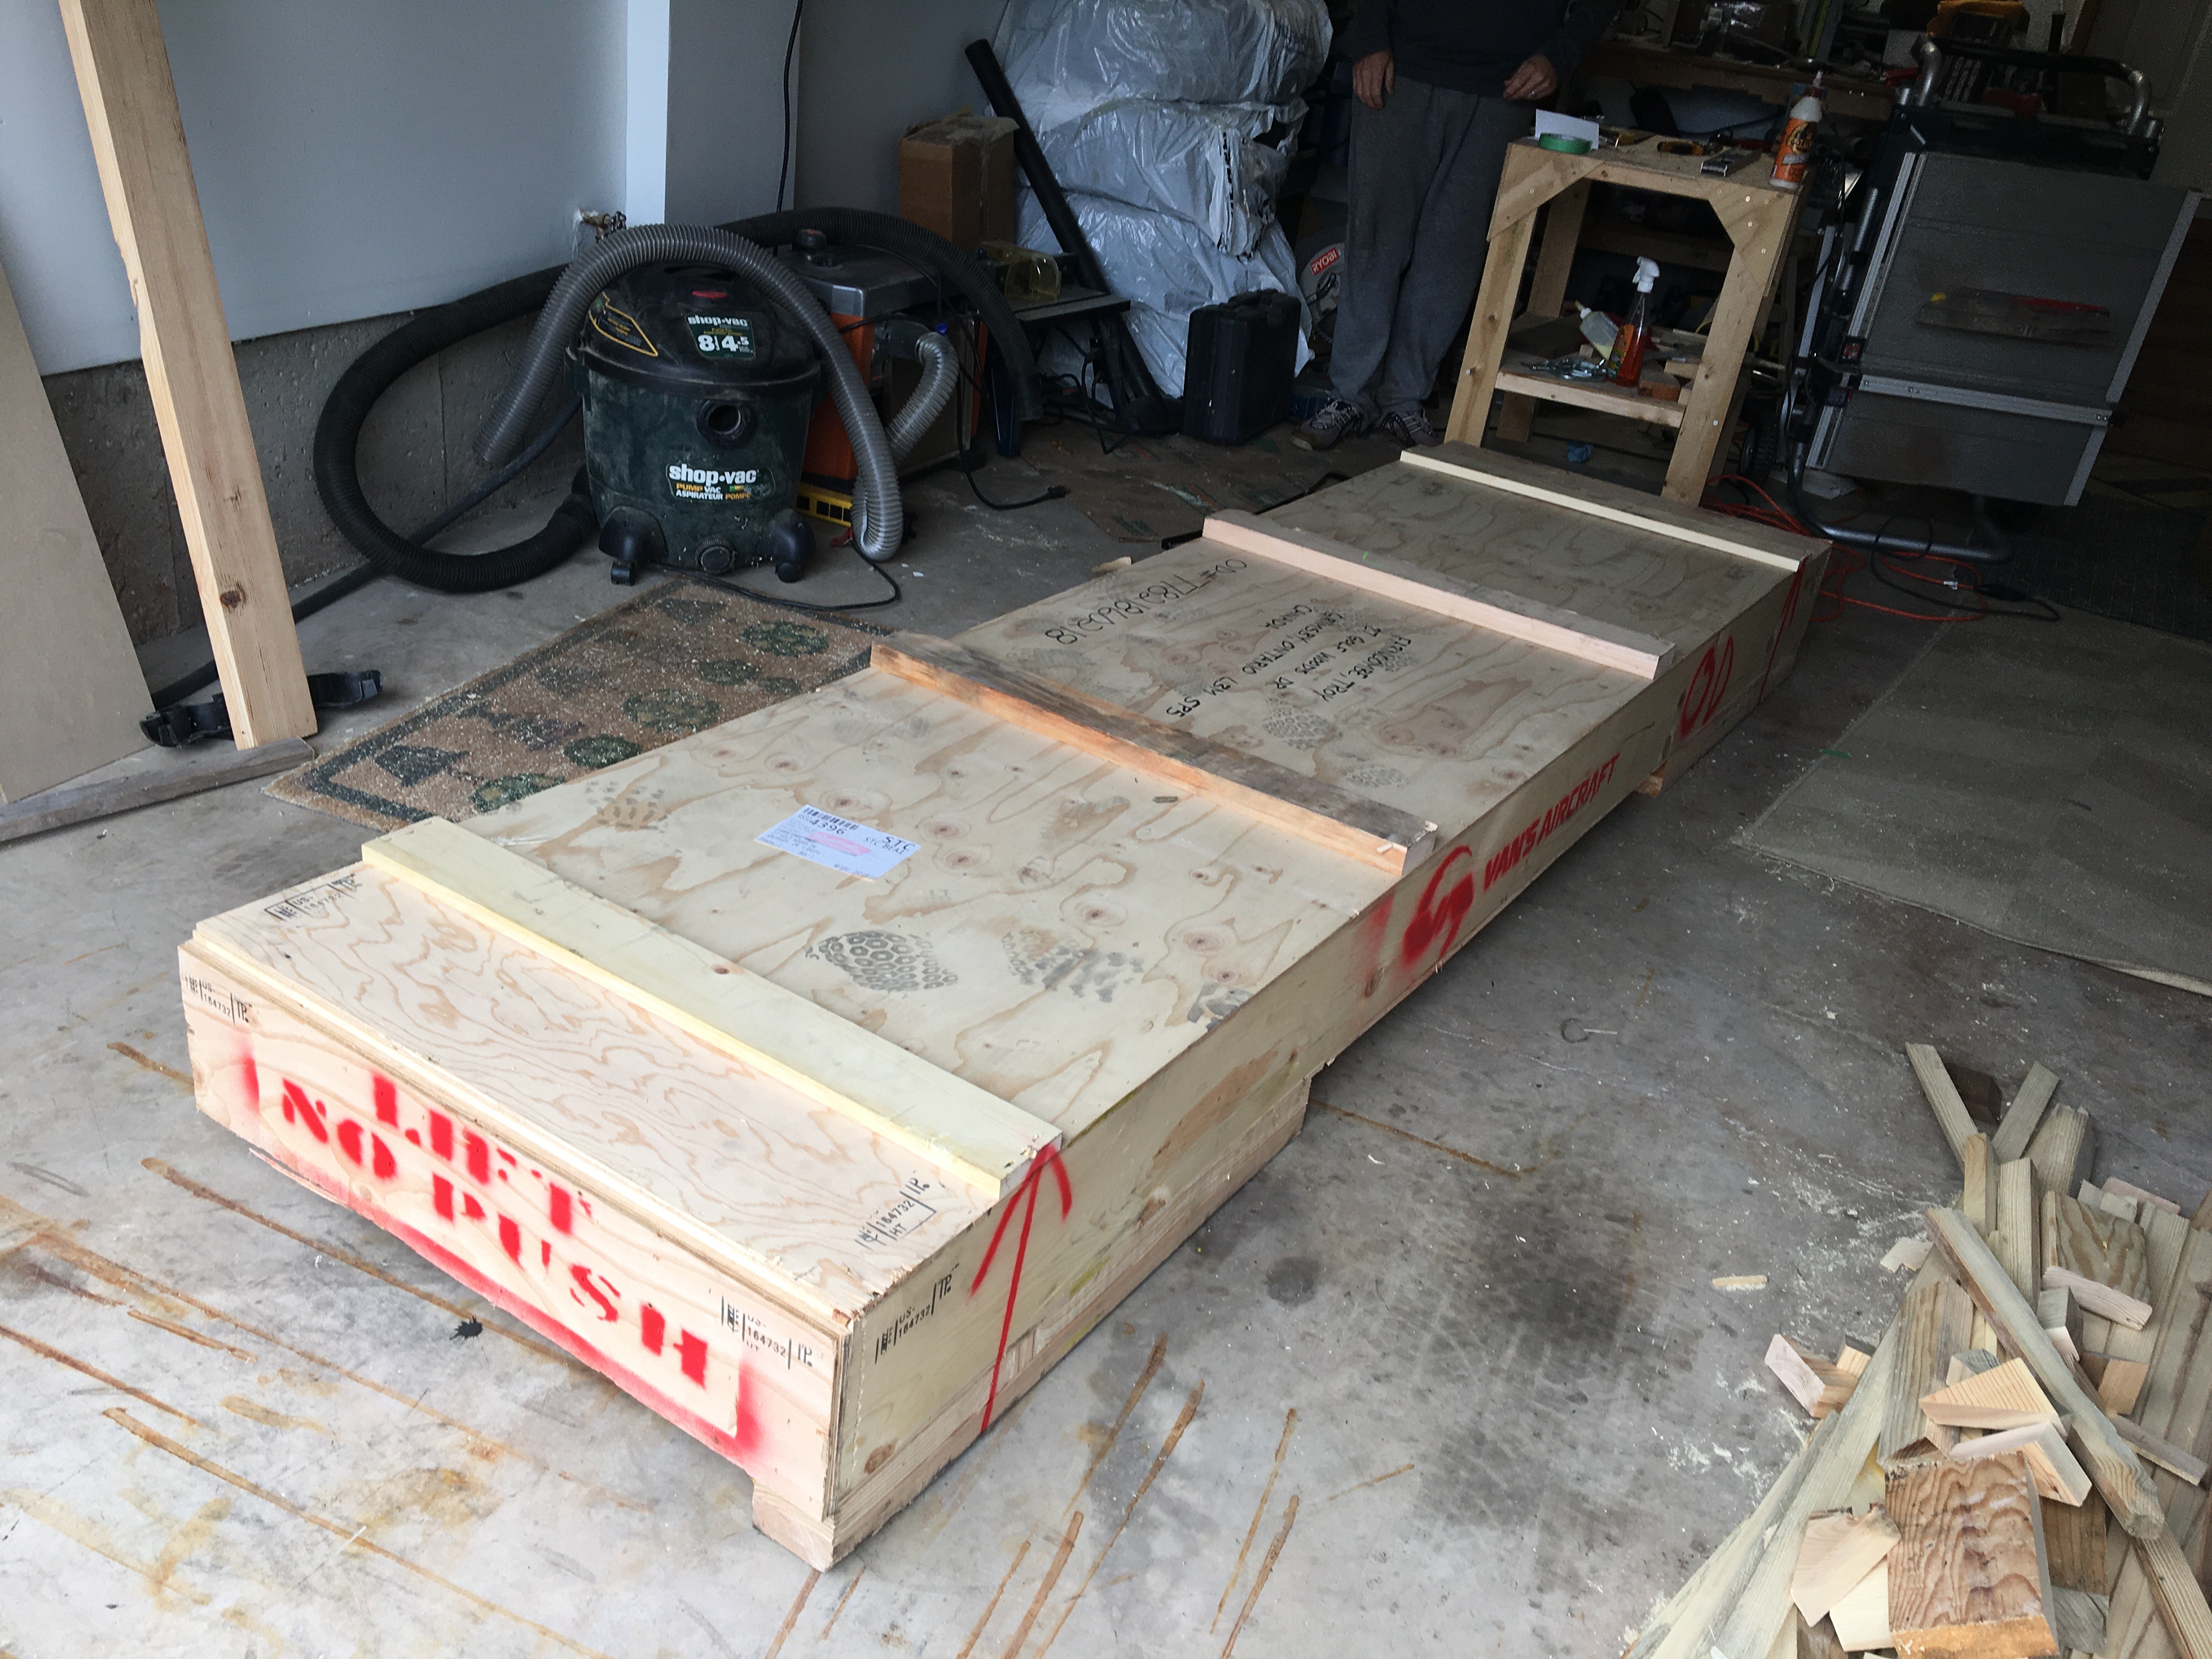
  1. There’s no space, you can barely see the floor now. I thought by now I’d have a clean and orderly garage. I’ve been reassured by Troy’s mother that history has shown this will never happen, ever.
  2. We currently only have 100 Amp service running to the house. Thanks to Troy’s Tesla home car charger, having a space heater in the garage is already a challenge on the fuse box. We might blow it up if we plugged anything else into the electrical sockets.
  3. Related to the space heater – now that it’s the middle of November in Ontario, a beer can actually remain cold enough without the assistance of refrigeration.
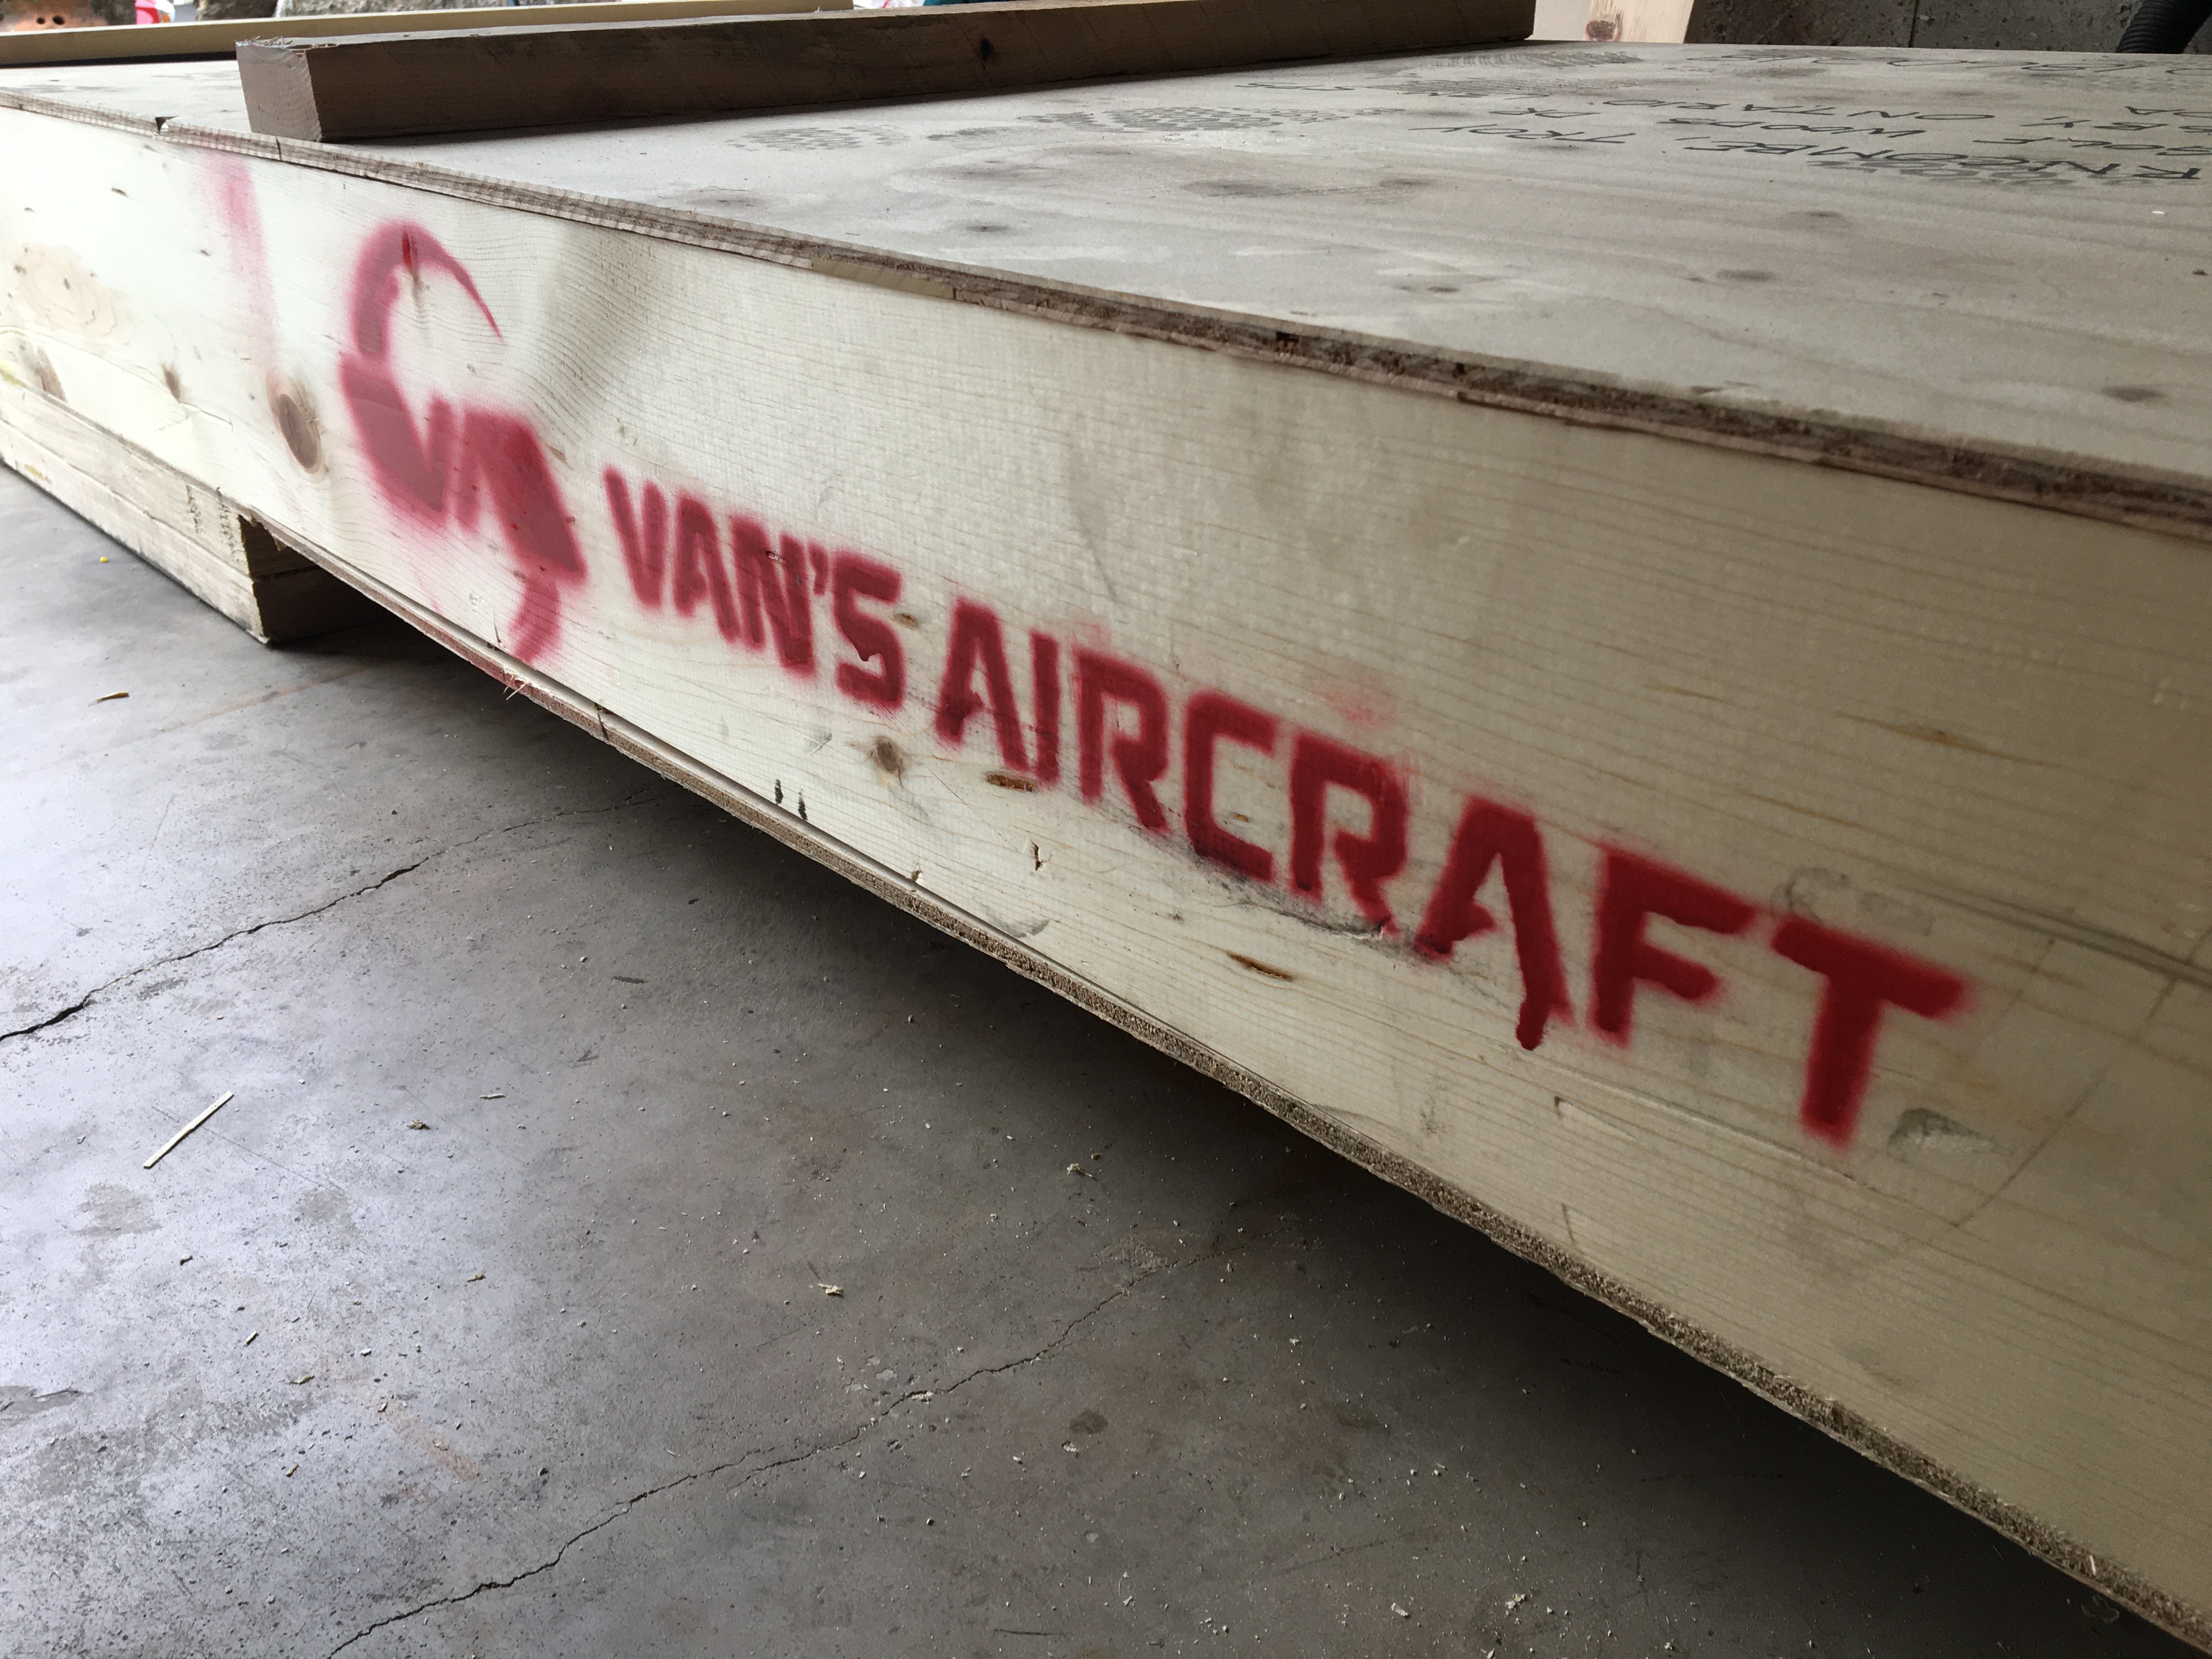
  4. The most important one was illustrated above in the rivets Troy had to remove. We’re already making simple and costly mistakes without the assistance of adult beverages. 110% precision is required and any small misstep results in a step towards a failure in safety. The parts, while replaceable, are costly and take some time to ship from the manufacturer in Oregon.

However, that detail doesn’t stop me from having a beer if my role in the workshop at that moment, is purely that of an observer. Cheers!

Where’s the beer fridge? Part 2.

Some of you may know from my personal Facebook page that I awoke one morning to a spray tent popped open in the garage (and also to where the rest of my supply of chicken wire had gone – I have dogs that like to eat small woodland creatures – chicken wire is a household essential if you wish to protect your fences). Troy built himself a fancy little painting tent with some air fans and filters. One thing I am trying to keep track of: things that might come in handy for me and my future projects – spray gun, spray tent – very useful items.

“To prime or not to prime – that is the question”.

– said every experimental aircraft builder

Applying primer is a preventative step against metal corrosion however it’s a highly debatable step among builders. Primer adds weight to the plane, additional build time, the aluminum itself has an anticorrosion coating, which counterintuitively, you actually have to scratch into in order to provide a surface for the primer to stick to. It’s a two-step scrubbing with a strong soap and acid wash process, I can only wish our bathrooms got that level of attention. There are also different types of primer which I don’t have the slightest desire to Google.

Troy’s decided to prime and use one that is water based – balancing his personal values of trying to protect the plane as much as possible while using an environmentally friendly formula that is easy to work with. The house still smelled like paint despite his best efforts but miraculously, I haven’t seen a drip of primer outside of the spray shelter.

Did you know – there are 230 holes on the ribs and spars of the vertical stabilizer – and only 12 of those holes did not need to be drilled, deburred, dimpled or countersunk? There are 216 holes in the skin of the vertical stabilizer, all of which were also drilled, deburred, and dimpled. Before all of those holes received the royal treatment, all of the parts were actually Cleco-ed together to ensure the holes lined up. Then all the Clecos were removed so that the holes could be shaped, and then subsequently, each individual part sprayed with primer. Placing and removing over 200 Cleco clamps with Cleco pliers, at least twice – results in Cleco cramps. If that’s not a term yet, I’m thusly coining it.

Now, when we may be ready for riveting, and why we don’t have a beer fridge in the garage, this particular blog entry has gotten a little too long. I promise I’m going to spend the next post completely on rivets and address that question that hangs over us…

To be continued…

Where’s the beer fridge? Part 1.

It’s been about a month now since the 240 pound crate from Oregon arrived. Troy will often shout to no one in particular, “I’m just going to be out in the garage for a few minutes” and about 3 hours will elapse. You can see he TOTALLY has it easy in this marriage. It isn’t until the following morning when I’m taking some recycling out into the garage that I realize he’s plowed quite far along. This is typically followed by me yelling, “You didn’t let me photograph any of that!” I ended up propping myself up on a stool beside his work bench yesterday to try and figure out how I’m going to catch up on blogging his progress. As I sat there, I looked around the garage and asked, “Where’s the beer fridge?” I’ll get back to that question.

What I quickly realized, when I surveyed all the bits and pieces of airplane laying around – for this particular kit build – an airplane builder is really just a sheet metal worker. You are literally, predominantly and ultimately connecting pieces of metal together permanently with rivets, and temporarily with Clecos. Cleco clamps are to the builder what dressmaker pins are to a seamstress – and there are buckets of different sized ones everywhere. After helping Troy place and remove many Clecos yesterday, I’ve begun to wonder what else I can Cleco around the house.    

A simple video showing how a Cleco clamp is placed to hold two sheets of metal together.

There was a lot of prep work on the various parts before assembly could even begin. The past month was probably doing just this, the prep work. While the pieces did come pre-drilled, many of the holes are undersized and required further drilling, and subsequent deburring. Deburring removes all of the sharp metal edges, which are a potential crack forming point, a big no no in airplanes.

After every hole has been properly sized, if that hole requires a flush rivet (a rivet that is flat to the surface), the hole must be either countersunk or dimpled. Countersinking involves drilling out a recessed area for the rivet to sit. If the material is too thin to countersink, dimpling is deforming the metal to the same shape of the countersink, so that the two pieces of metal can be nested together. Flush rivets are used for all aerodynamic surfaces. Universal or dome rivets do not need to be countersunk or dimpled and are used on surfaces that aren’t important to air flow.  

And we’re not even at the part of putting in the rivets yet.

To be continued…

Princess Aerospace

I’m getting used to boxes appearing at the door on a daily basis. I can usually hear the delivery truck door opening and closing, my office overlooks the driveway. Usually it’s just a knock and they drive off. I especially love it when I’m in the middle of a Microsoft Teams meeting and the single knock is followed by a series of insistent doorbell dings. That means the courier is standing at the door waiting to for me to fork over my credit card for Troy’s brokerage fees and duties. Thankfully, of late, I’m opening the door to this white box.

Just another daily delivery for Troy, from “Princess Aerospace”

Princess Auto, if you’re American, is similar to your Harbor Freight. It’s a Canadian chain of stores that originated in Winnipeg, Manitoba. It began as an auto wrecking business and expanded into retailing war surplus items, then eventually, tools and equipment (thank you Wikipedia). When I first heard another RV-14A builder, Jim S., call this store “Princess Aerospace”, the name just stuck with me. Like with any project, never skimp out on the tools required for precision work, but for everything else, Princess Aerospace is apparently good enough. I personally enjoy walking down the tool aisles in the front of the store.

I thought I’d talk about the different metal working tools in future entries as I learn about the stages of Troy’s builds. From day zero, I was curious about what kind of instructions came with this flat box of bits. There had been a schematic diagram taped to the garage early on and when I posted a picture of this on Facebook, my funny friends joked that those were the instructions – IKEA style. There’s actually a giant binder, the pages all printed on 11 x 17” sheets of paper, double sided. In this empennage kit, the first 5 chapters are inventory checks and “how to” details; chapters 6 through 12 relate to the actual build; each chapter contains anywhere from 10 to 40 pages.

“It’s sort of like the technical challenges in the Great British Bake Off, you’re given a list of the ingredients and told ‘now make a soufflé’ .”

Troy

The internet actually does a fantastic job of explaining the parts of an airplane. The empennage, which is what Troy is working on, consists of a vertical stabiliser which has a rudder connected to it; the horizontal stabiliser, which has the elevators connected to it.

The deconstructed individual components are relatively simple when I surveyed all the metal bits strewn across our garage floor – there are ribs, like our rib cage, there are spars, which would essentially be like our spinal column, and the skin, well, exactly that, the aluminum skin. The body of an airplane is just that – connecting the spars and ribs to the skin. Although the individual pieces of sheet metal have been cut to shape, the real work is in preparing the aluminum skin: holes need to be drilled, deburred, countersunk or dimpled, then rivetted. Oh the rivets… I can’t wait for that part.    

In the beginning… there was blood.

We had just returned home from the evening walk with the dogs and Troy decided to head straight into the garage to start playing around with the practice kit he had purchased.

I unzip my jacket, I hear the compressor fire up, and before I can free my second arm, the door connecting our mud room to the garage comes flying open. Troy runs into the kitchen holding up a bright red index finger, grabs a single sheet of Bounty Plus, and simply says “I’ve drilled my finger”.

Back out into the garage he promptly flew. Somewhere over the Pond I can hear my friend Simon chirp, “it’s just a flesh wound”.

Yes. Troy is building an airplane. A real one. One where two full sized people can sit in it and leave terra firma thanks to the physics of lift. Don’t worry, before that happens, there are a lot of check boxes and sign offs that have to occur with the proper regulatory bodies. You might be asking, “what exactly is a practice kit?”. For $35 USD plus shipping, prospective airplane builders can purchase a training project package from the kit airplane manufacturer. This allows you to test out the waters, put a few holes in your fingers, before you start remortgaging your house for the rest of the airplane.

I’m actually playing catch up with Troy on blogging about his build and wasn’t quite sure where to begin this first post. He was advised by experienced builders to have a clean and organized area. I rejoiced at the prospect of finally having a garage that we wouldn’t be embarrassed of when the doors were up and open. I figured while he was still sorting out the garage in the evenings after work, I had time to research a hosting site, create a draft publication schedule, etc. Yeah no, he found a clean surface and put the pedal to the metal, literally. He already had a “look what I made!” moment last week that I have to figure out how to weave back into a narrative… and here I am, scrambling to learn Word Press (which by the way, is a lot easier than Geocities – anyone remember that thing?).

October 1st, just after lunch, was the day the RV-14A empennage kit arrived. The tail, the airplane’s butt, is typically the first part most kit builders start with – it’s slightly more forgiving than the wings when it comes to honing your skills in sheet metal work. It’s also infinitely cheaper than building the fuselage (which is the main hull of the airplane), because that means you would need to start dropping the real money into an engine too. A flat box full of sheet metal and a giant bag of rivets were the contents of the package. What isn’t very sexy to talk about is all the prep work that lead up to this moment: there was a classic car that had to be fixed and sold to make room, there were tools that had be purchased, shelves installed, my dog sporting equipment and gardening tools evicted (I think my scuba tanks are still in there, he hasn’t complained about them lately).

Time scale wise, this will be a multi-year project. The one individual we went to visit at the Burlington Airport is about to be air worthy by the end of 2020. He’s on year 5 and is a retired Air Canada pilot working on this plane full time. This plane will certainly test Troy’s resolve, our marriage, and, as our neighbour pointed out, how long I can keep this blog going before I poke my eyes out. This may have started with some blood, I suspect I might contribute a few drops here and there along the way. Women are better at riveting apparently – and I don’t say that with pride because there are a million rivets in this airplane.